
Create a Pick_Up Order
A Pick_Up order (Order Type 2 - Pick_Up) is used when product needs to be removed from a customer's store instead of delivered — for example, damaged goods, out-dated stock, a recall, or a sampling pickup. Each item on a Pick_Up order records its own Reason code so the pickup is documented for accounting and inventory. This article walks through creating a Pick_Up order in Order Entry, adding items with their reasons, and confirming the saved order.
Order Type Reference
Order Entry supports six order types. This article covers Pick_Up (code 2).
| Code | Order Type |
|---|---|
| 1 | Build-To |
| 2 | Pick_Up — driver removes product from the customer for a documented reason (damaged, expired, recalled, etc.) |
| 3 | Pre-Order |
| 4 | Peddle Order |
| 5 | Standard Order |
| 10 | Load Build-To |
Before You Begin
Prerequisites
The customer already has a Scheduled Delivery route and day set up in xRMS.
You have Order Entry permissions in xRMS.
You know the Reason code for why the product is being picked up (see the Pickup Reason Codes table in Step 4).
Step-by-Step Instructions
Step 1 — Select the Customer
Go to Order Menu → Order Entry.
In the Customer field, search for and select the customer (for example, 0-2 - GIANT FOODS 306).
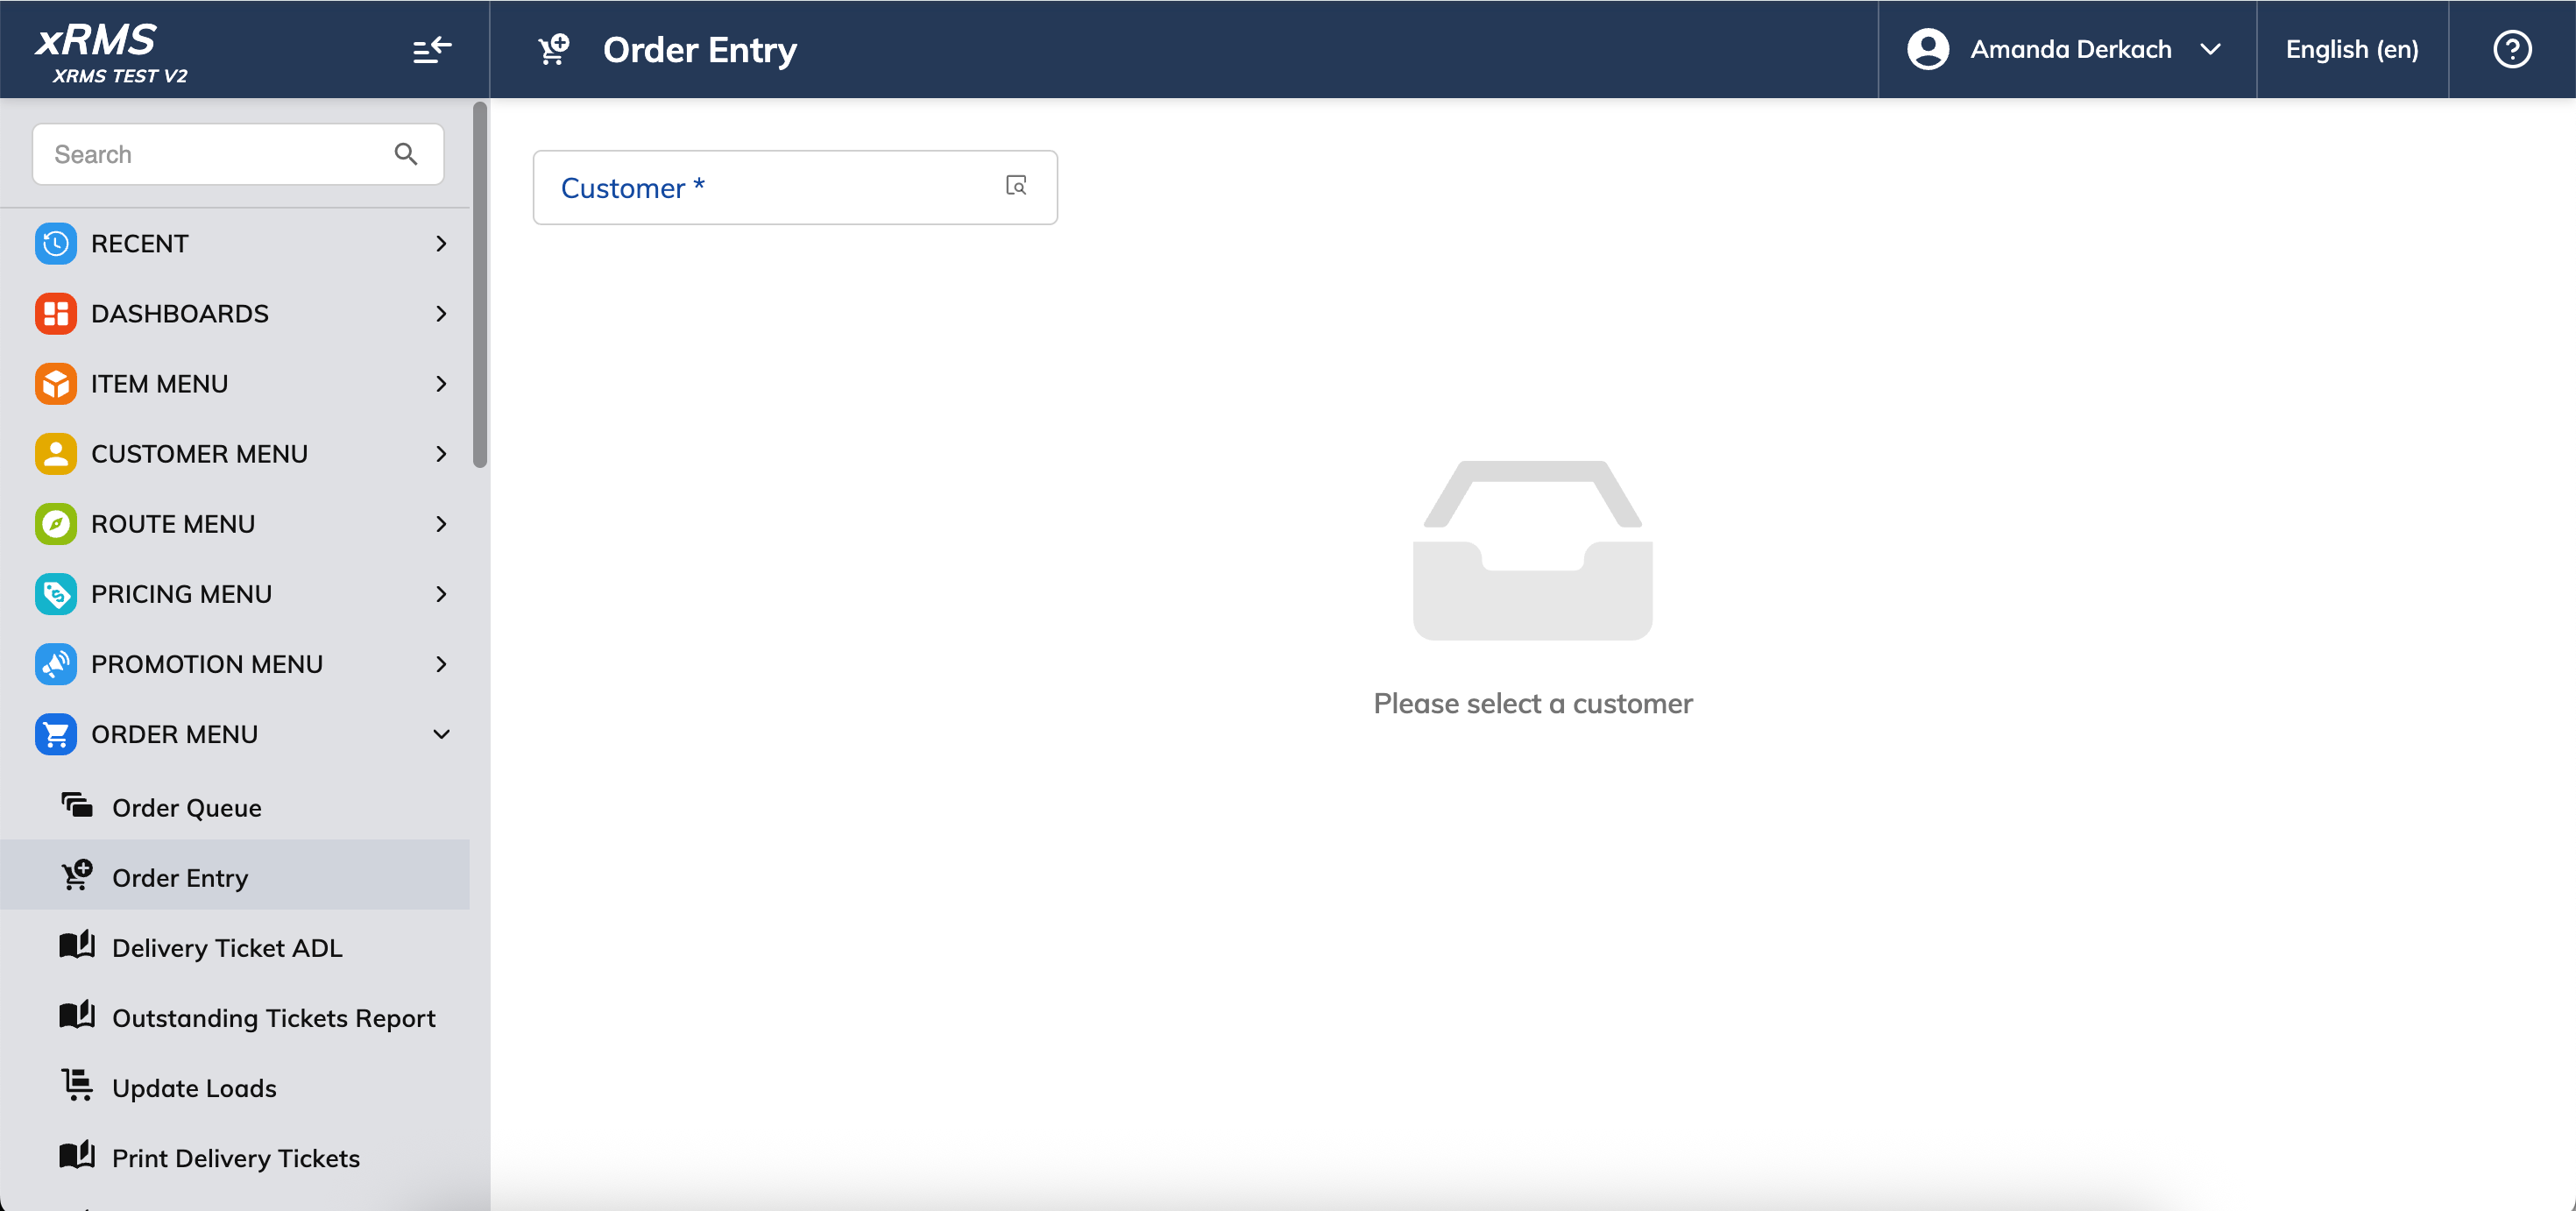
Figure 1: Order Entry — search and select the customer.
Chain Number and Customer Number populate automatically, and the customer's existing Scheduled Delivery grid appears.
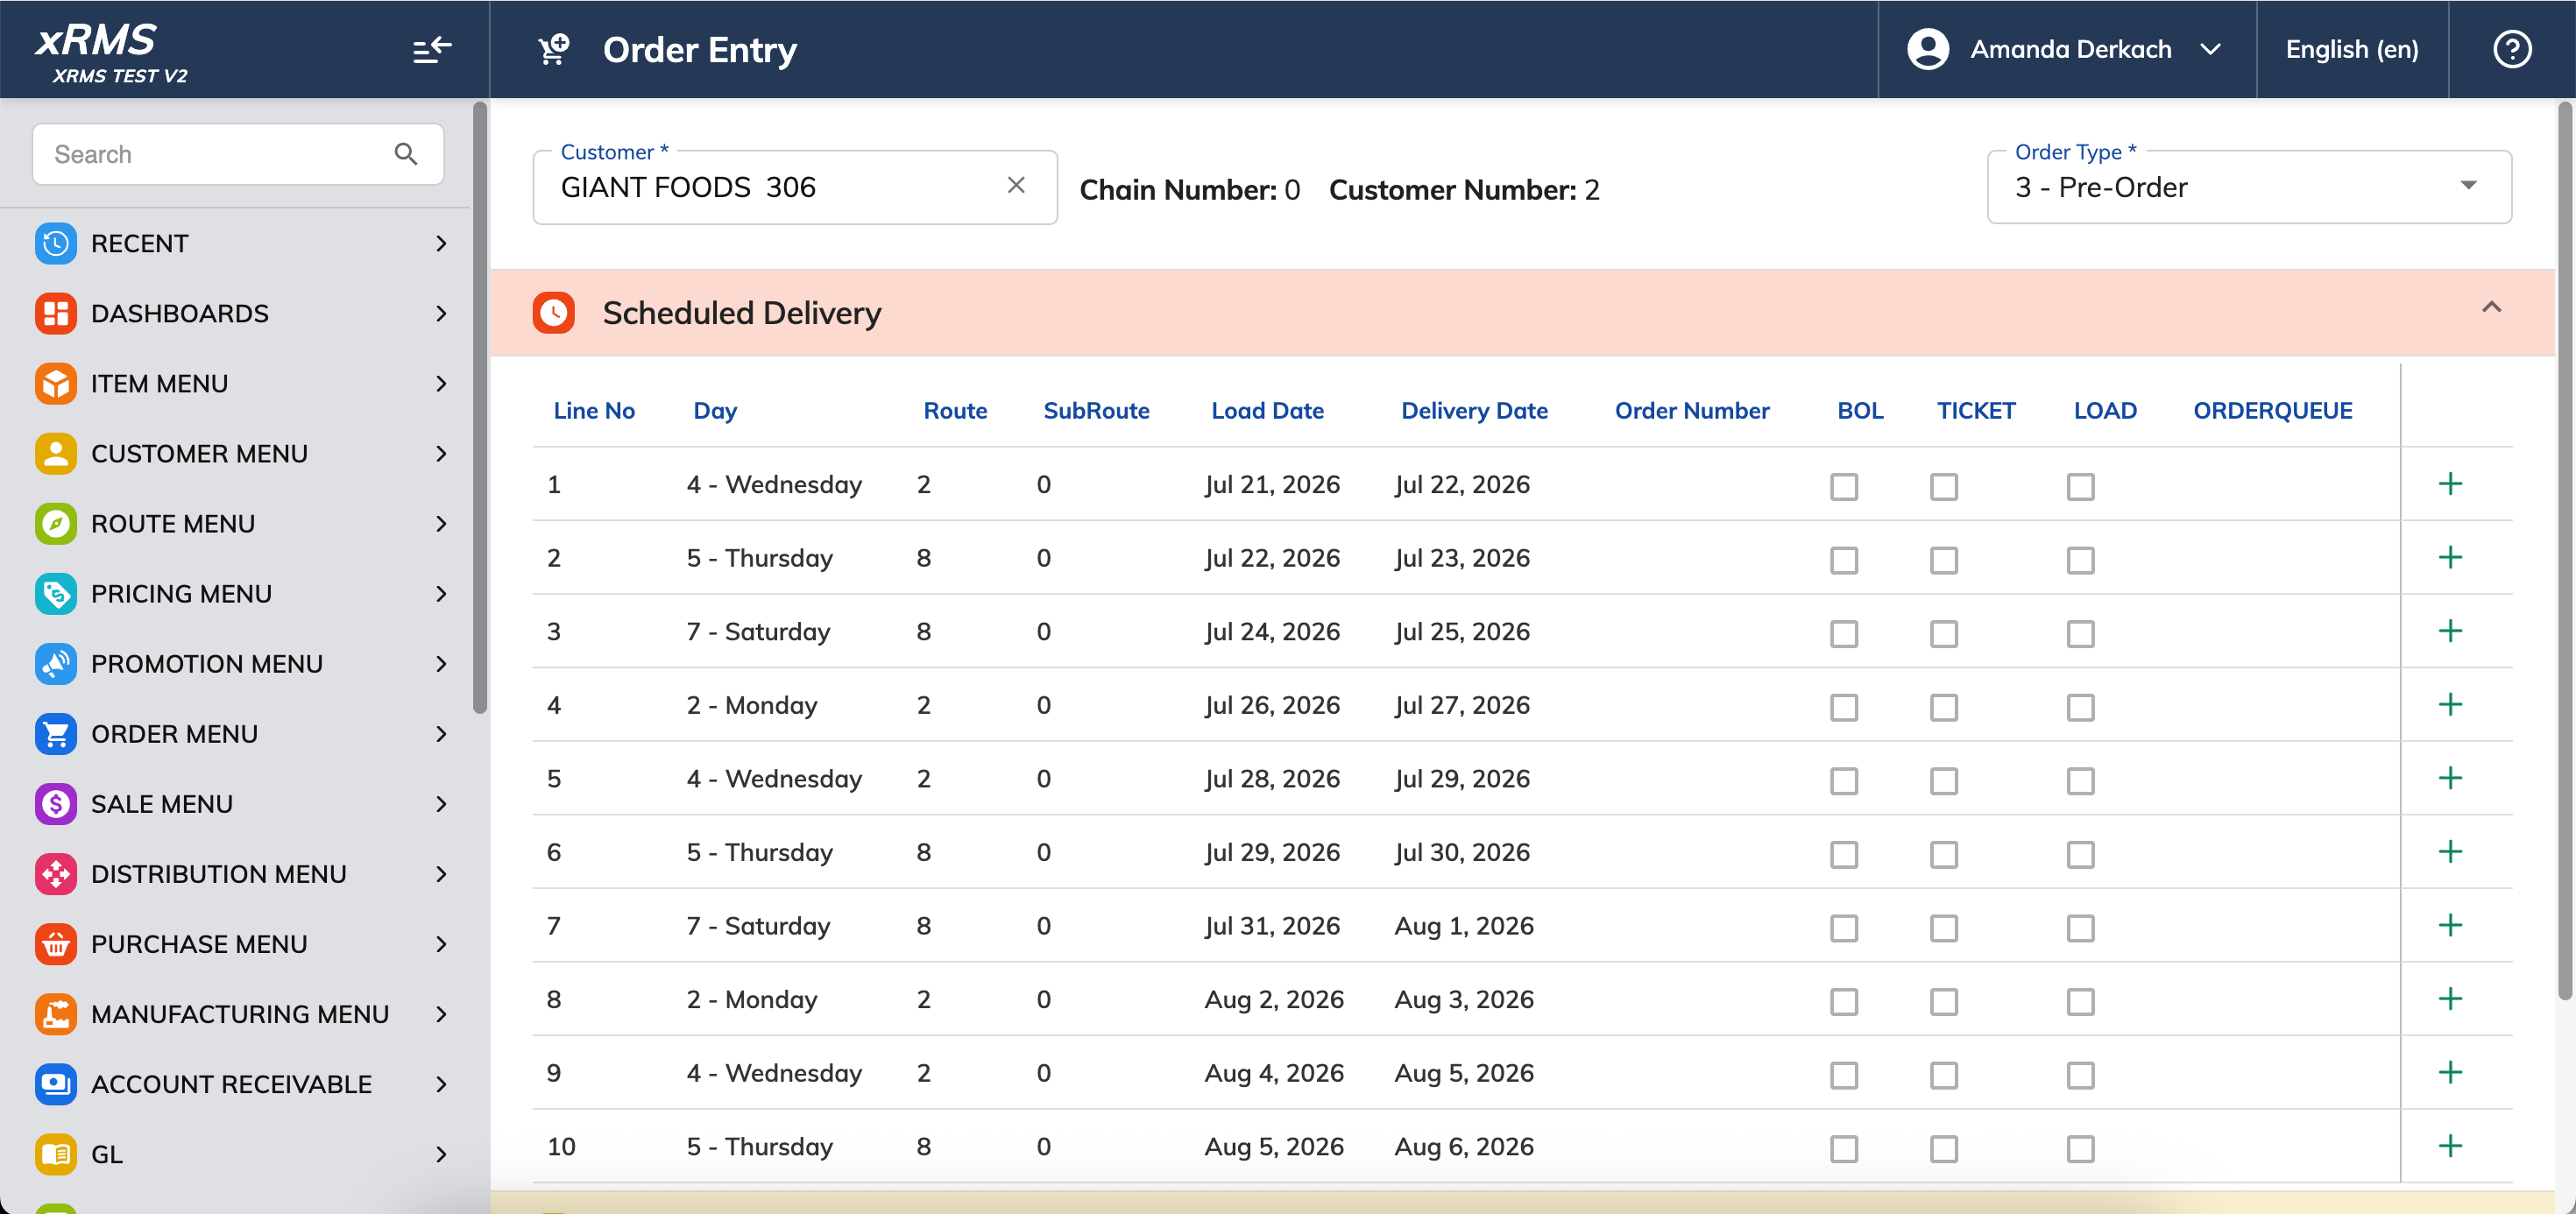
Figure 2: Customer selected — the existing Scheduled Delivery grid appears.
Step 2 — Set the Order Type to Pick_Up
Open the Order Type dropdown at the top right.
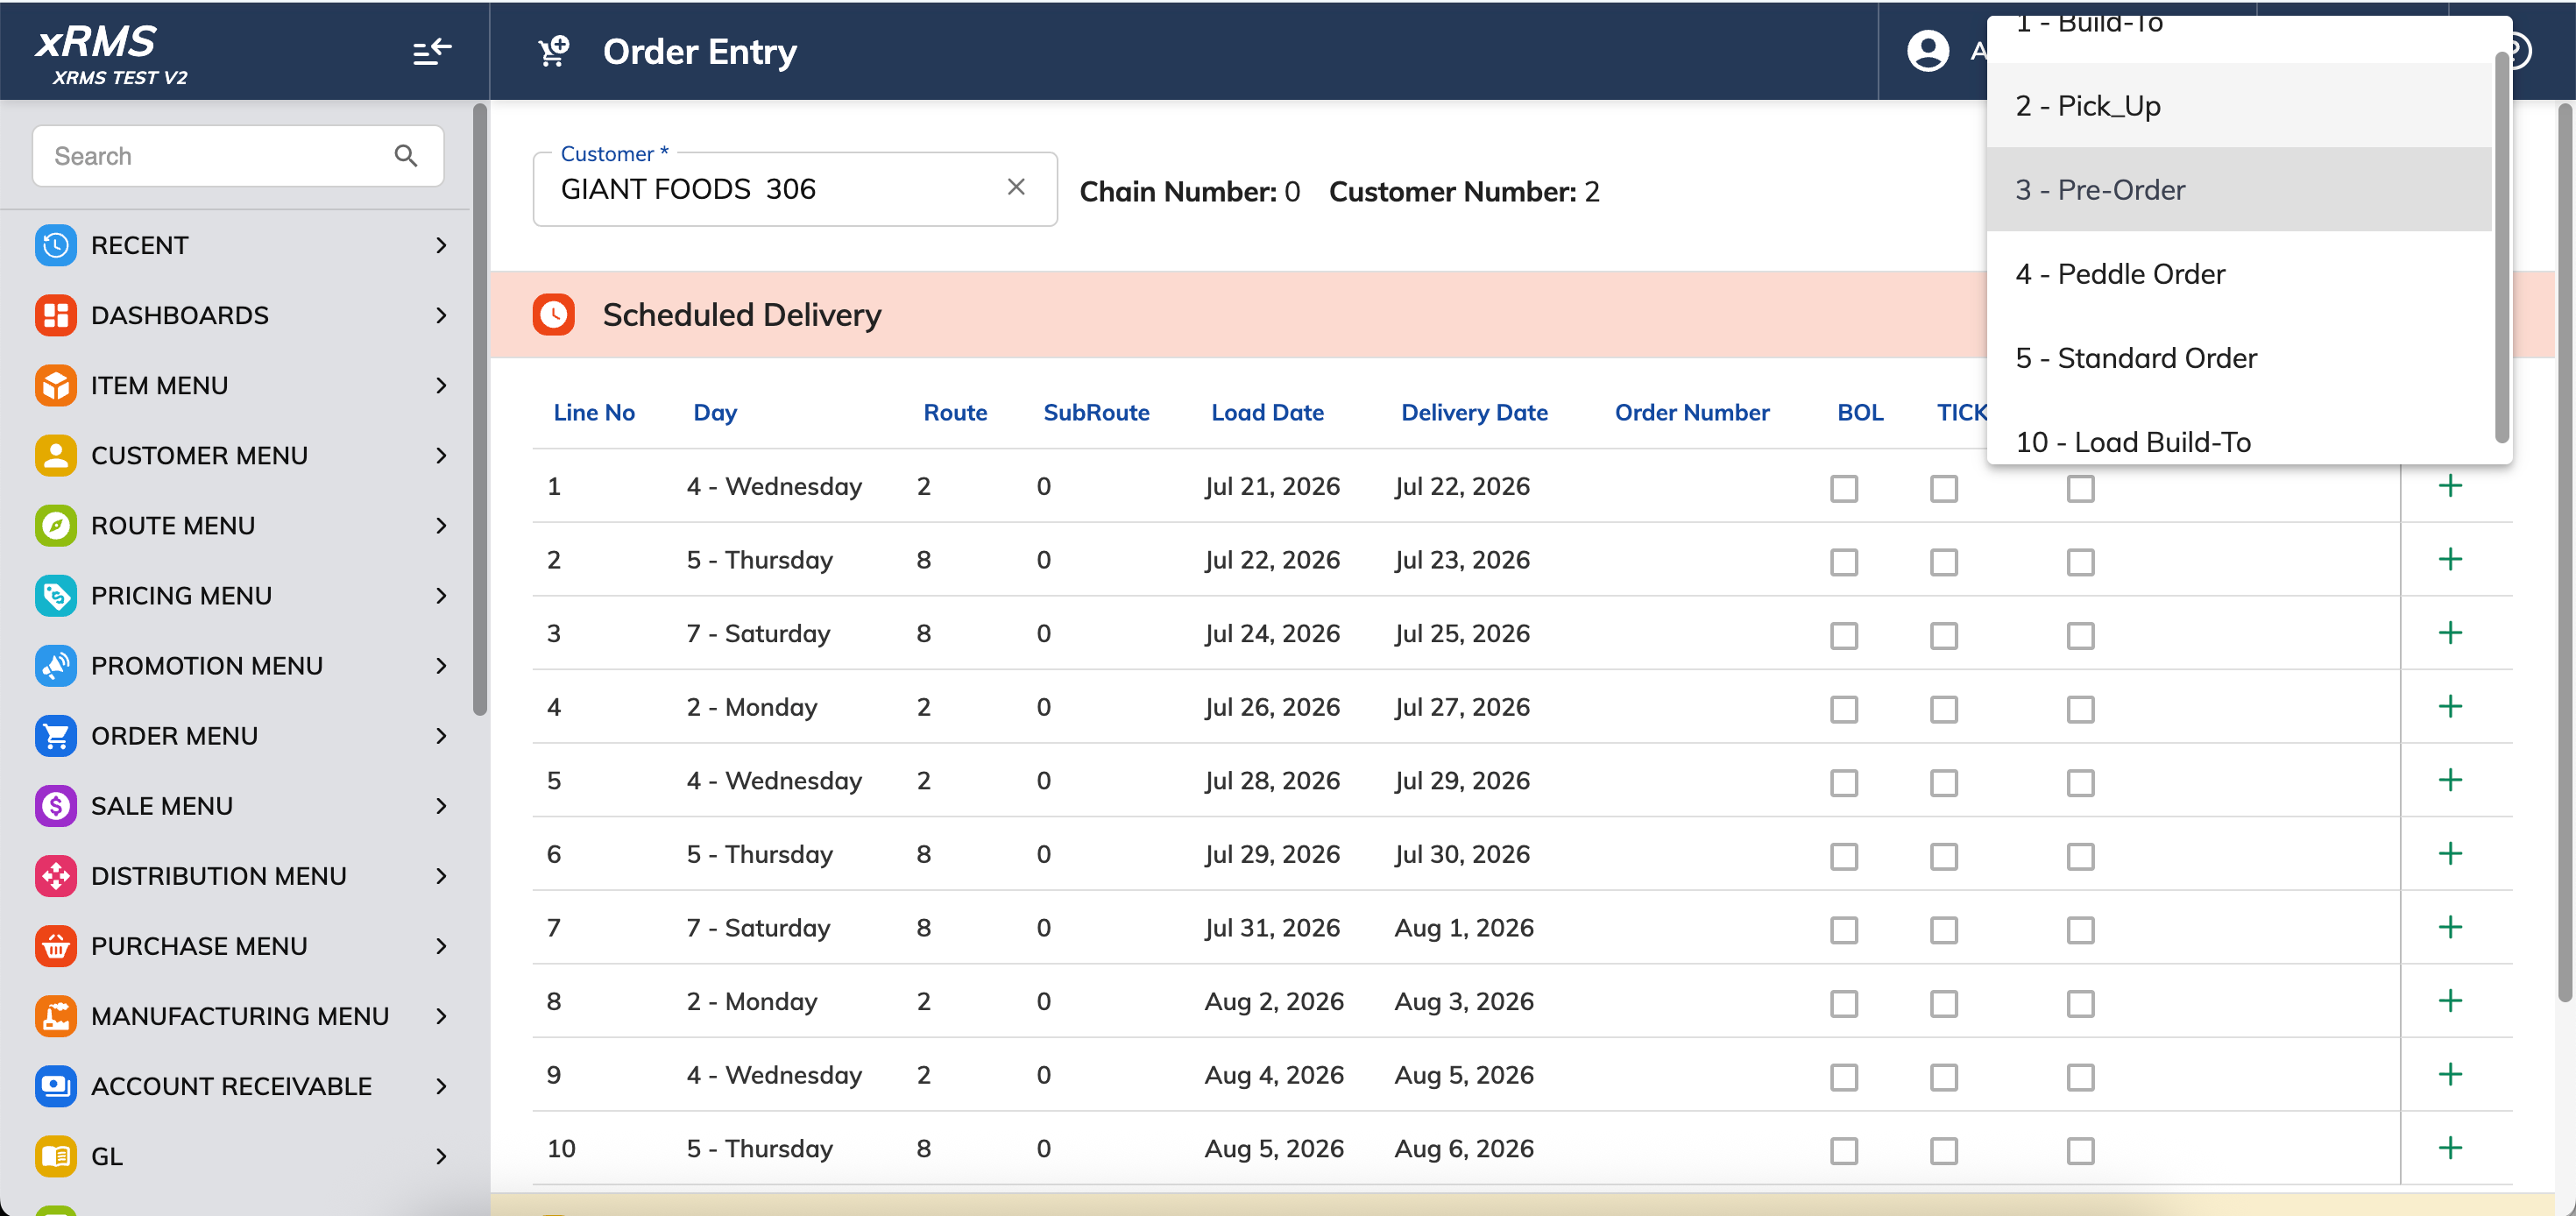
Figure 3: Order Type dropdown — six order types are available.
Select "2 - Pick_Up."
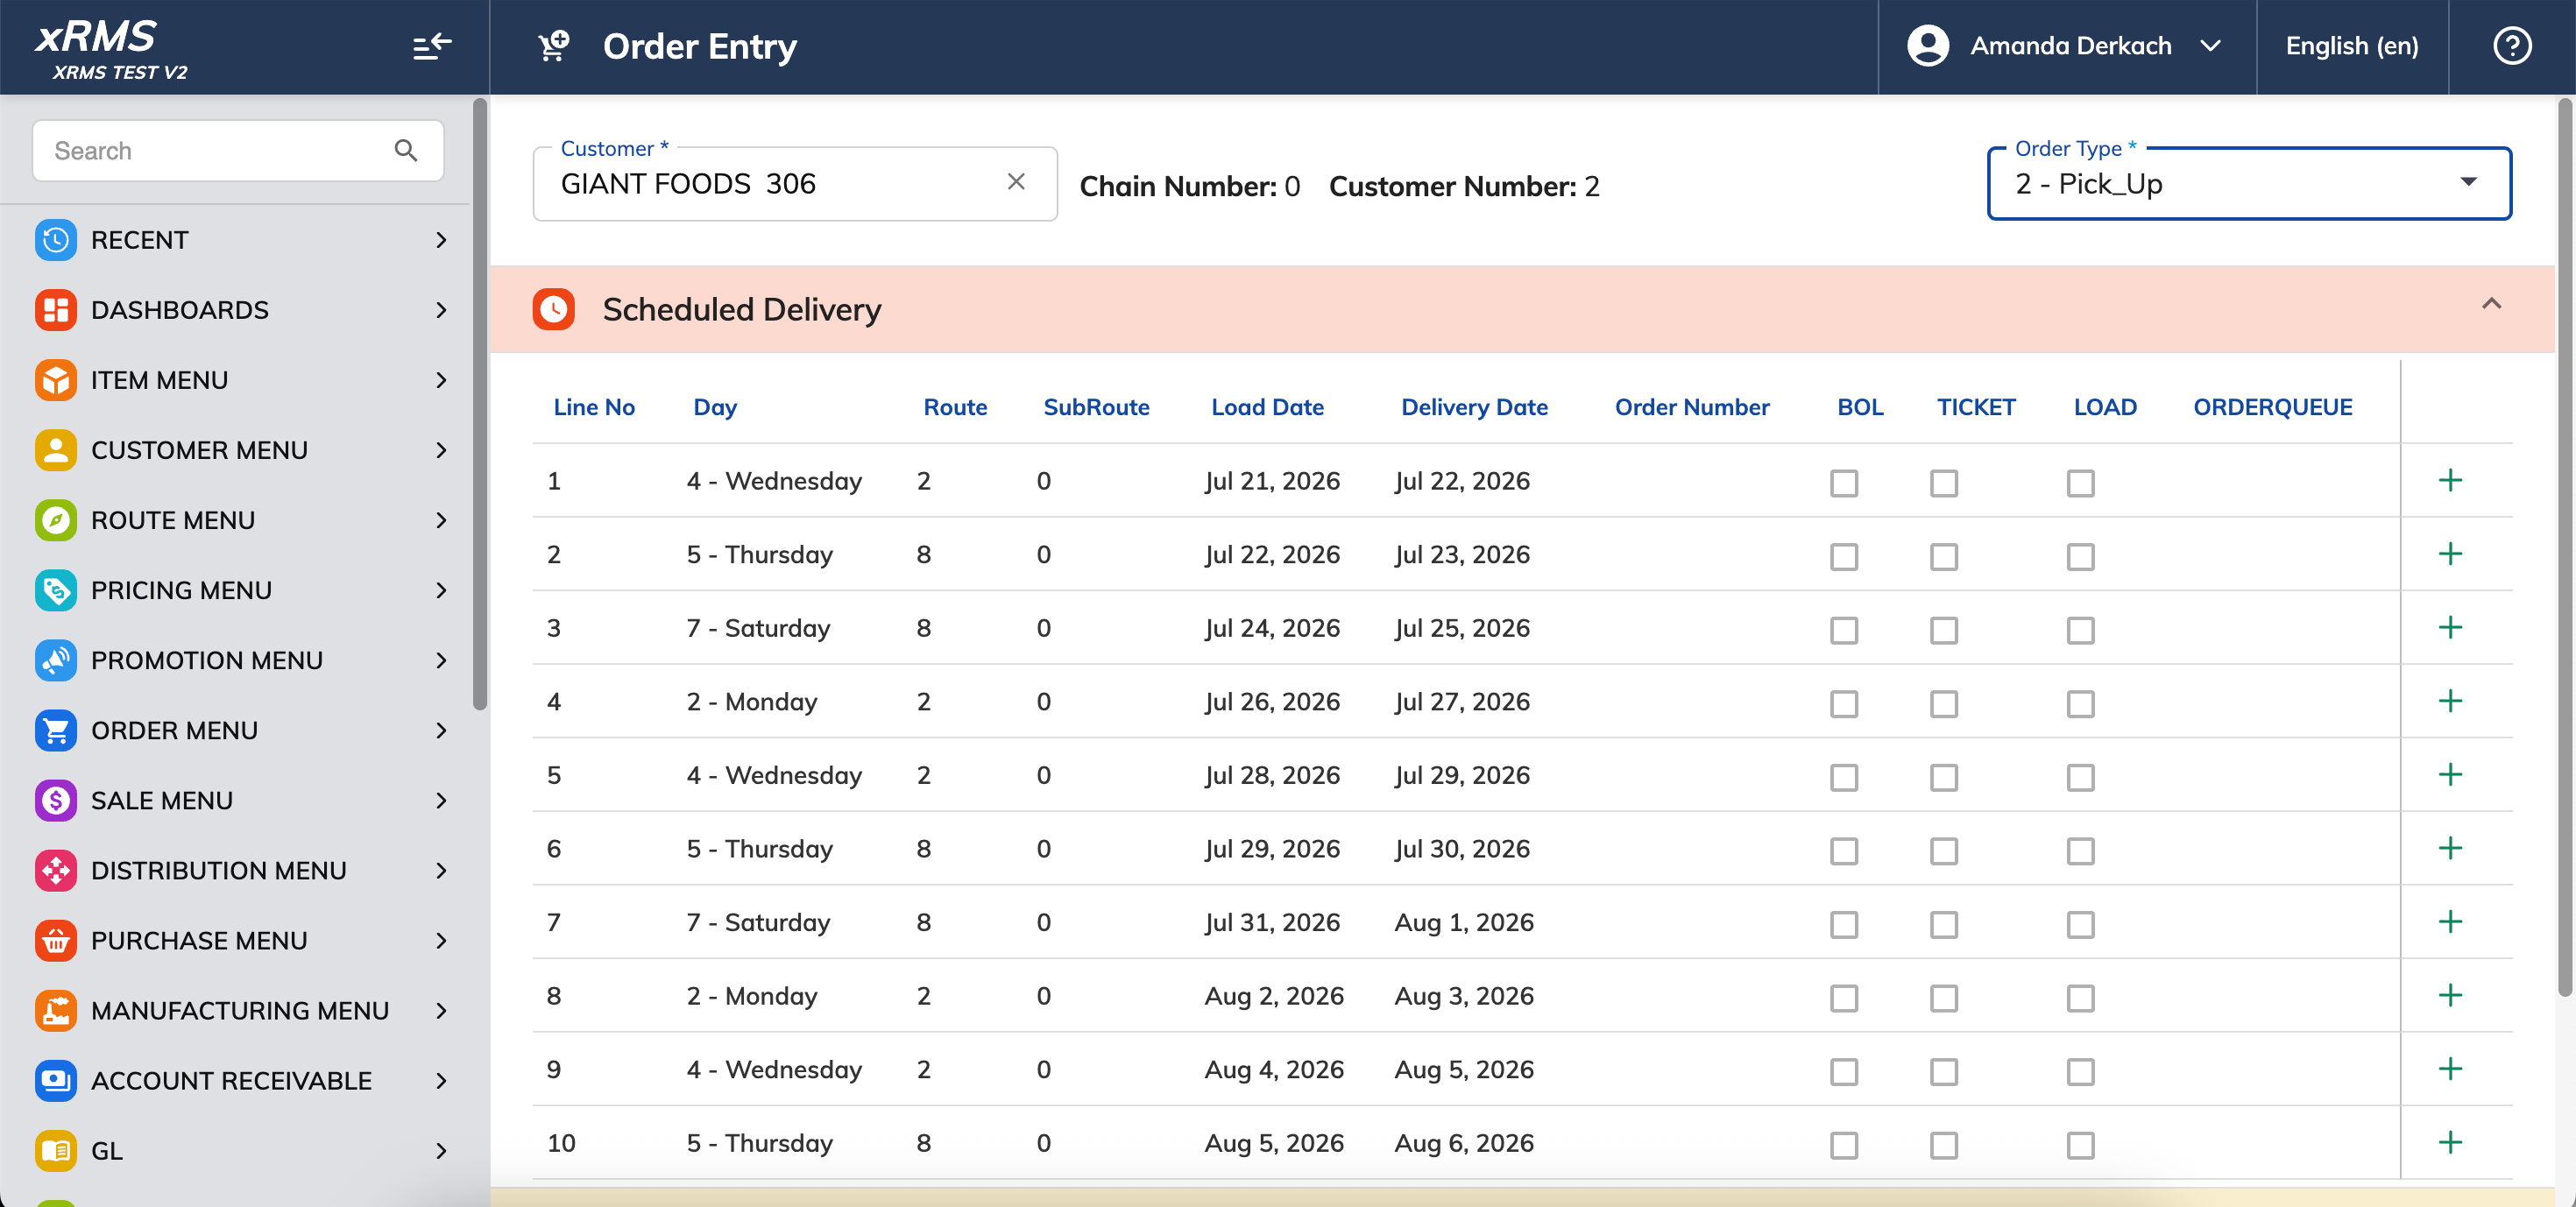
Figure 4: Order Type set to 2 - Pick_Up.
Step 3 — Add Notes (Optional)
Scroll down and expand Notes to add a Contact Name, P.O. Number, or Driver / Ticket / Trailer notes if needed.
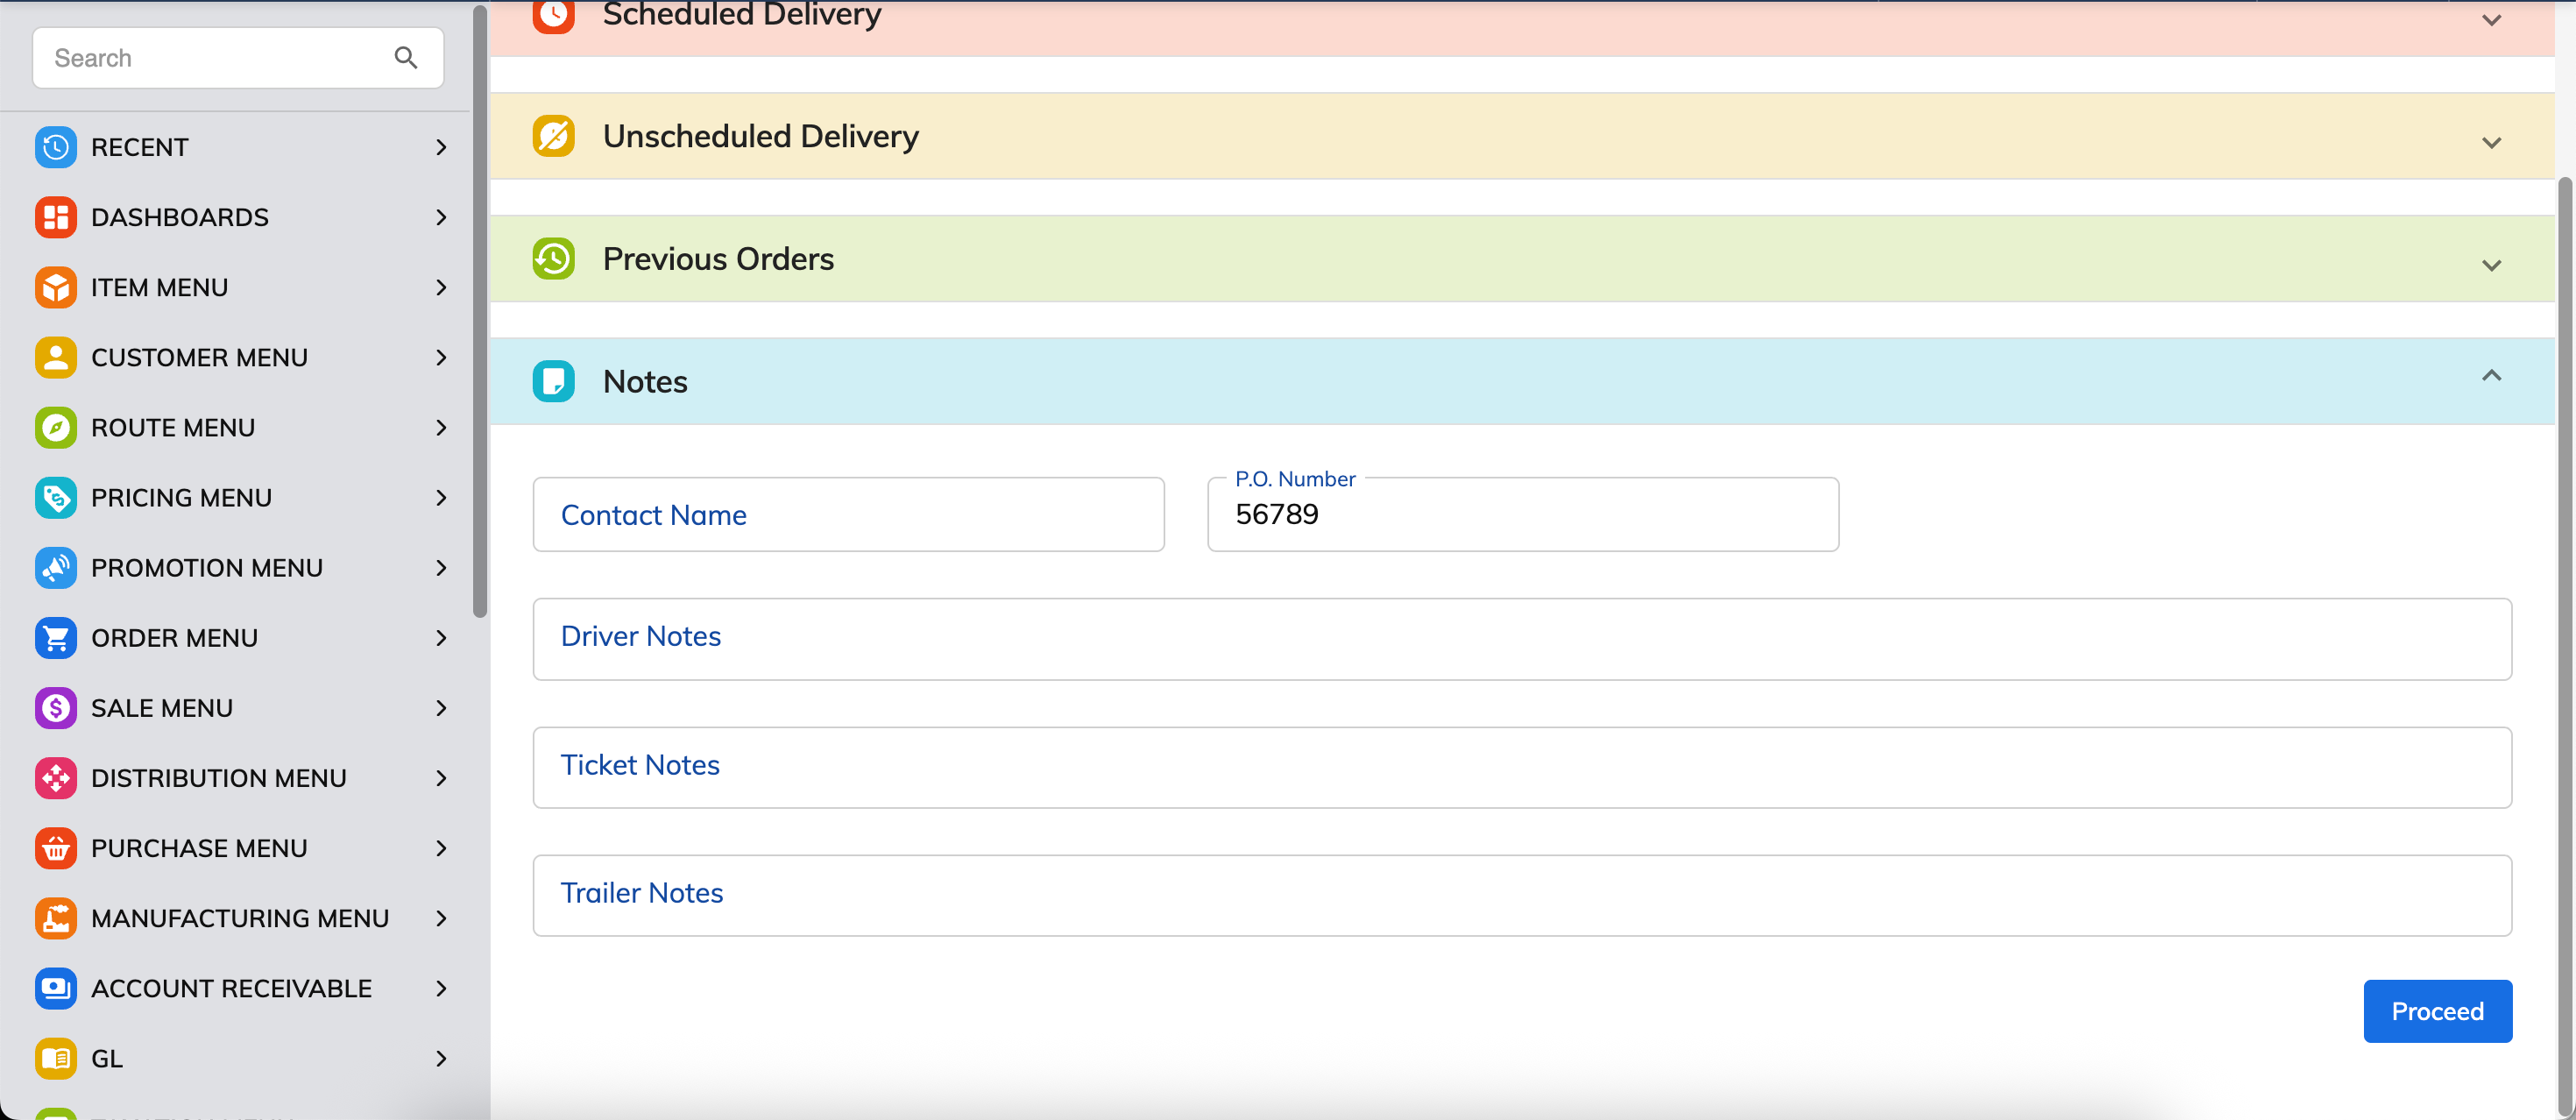
Figure 5: Optional Notes section — Contact Name, P.O. Number, and Driver / Ticket / Trailer notes.
Click Proceed to open Order Details.
Step 4 — Add Items with a Pickup Reason
On Order Details, note that Entry Mode is Units, and Edit Type defaults to "1 - Pick up."
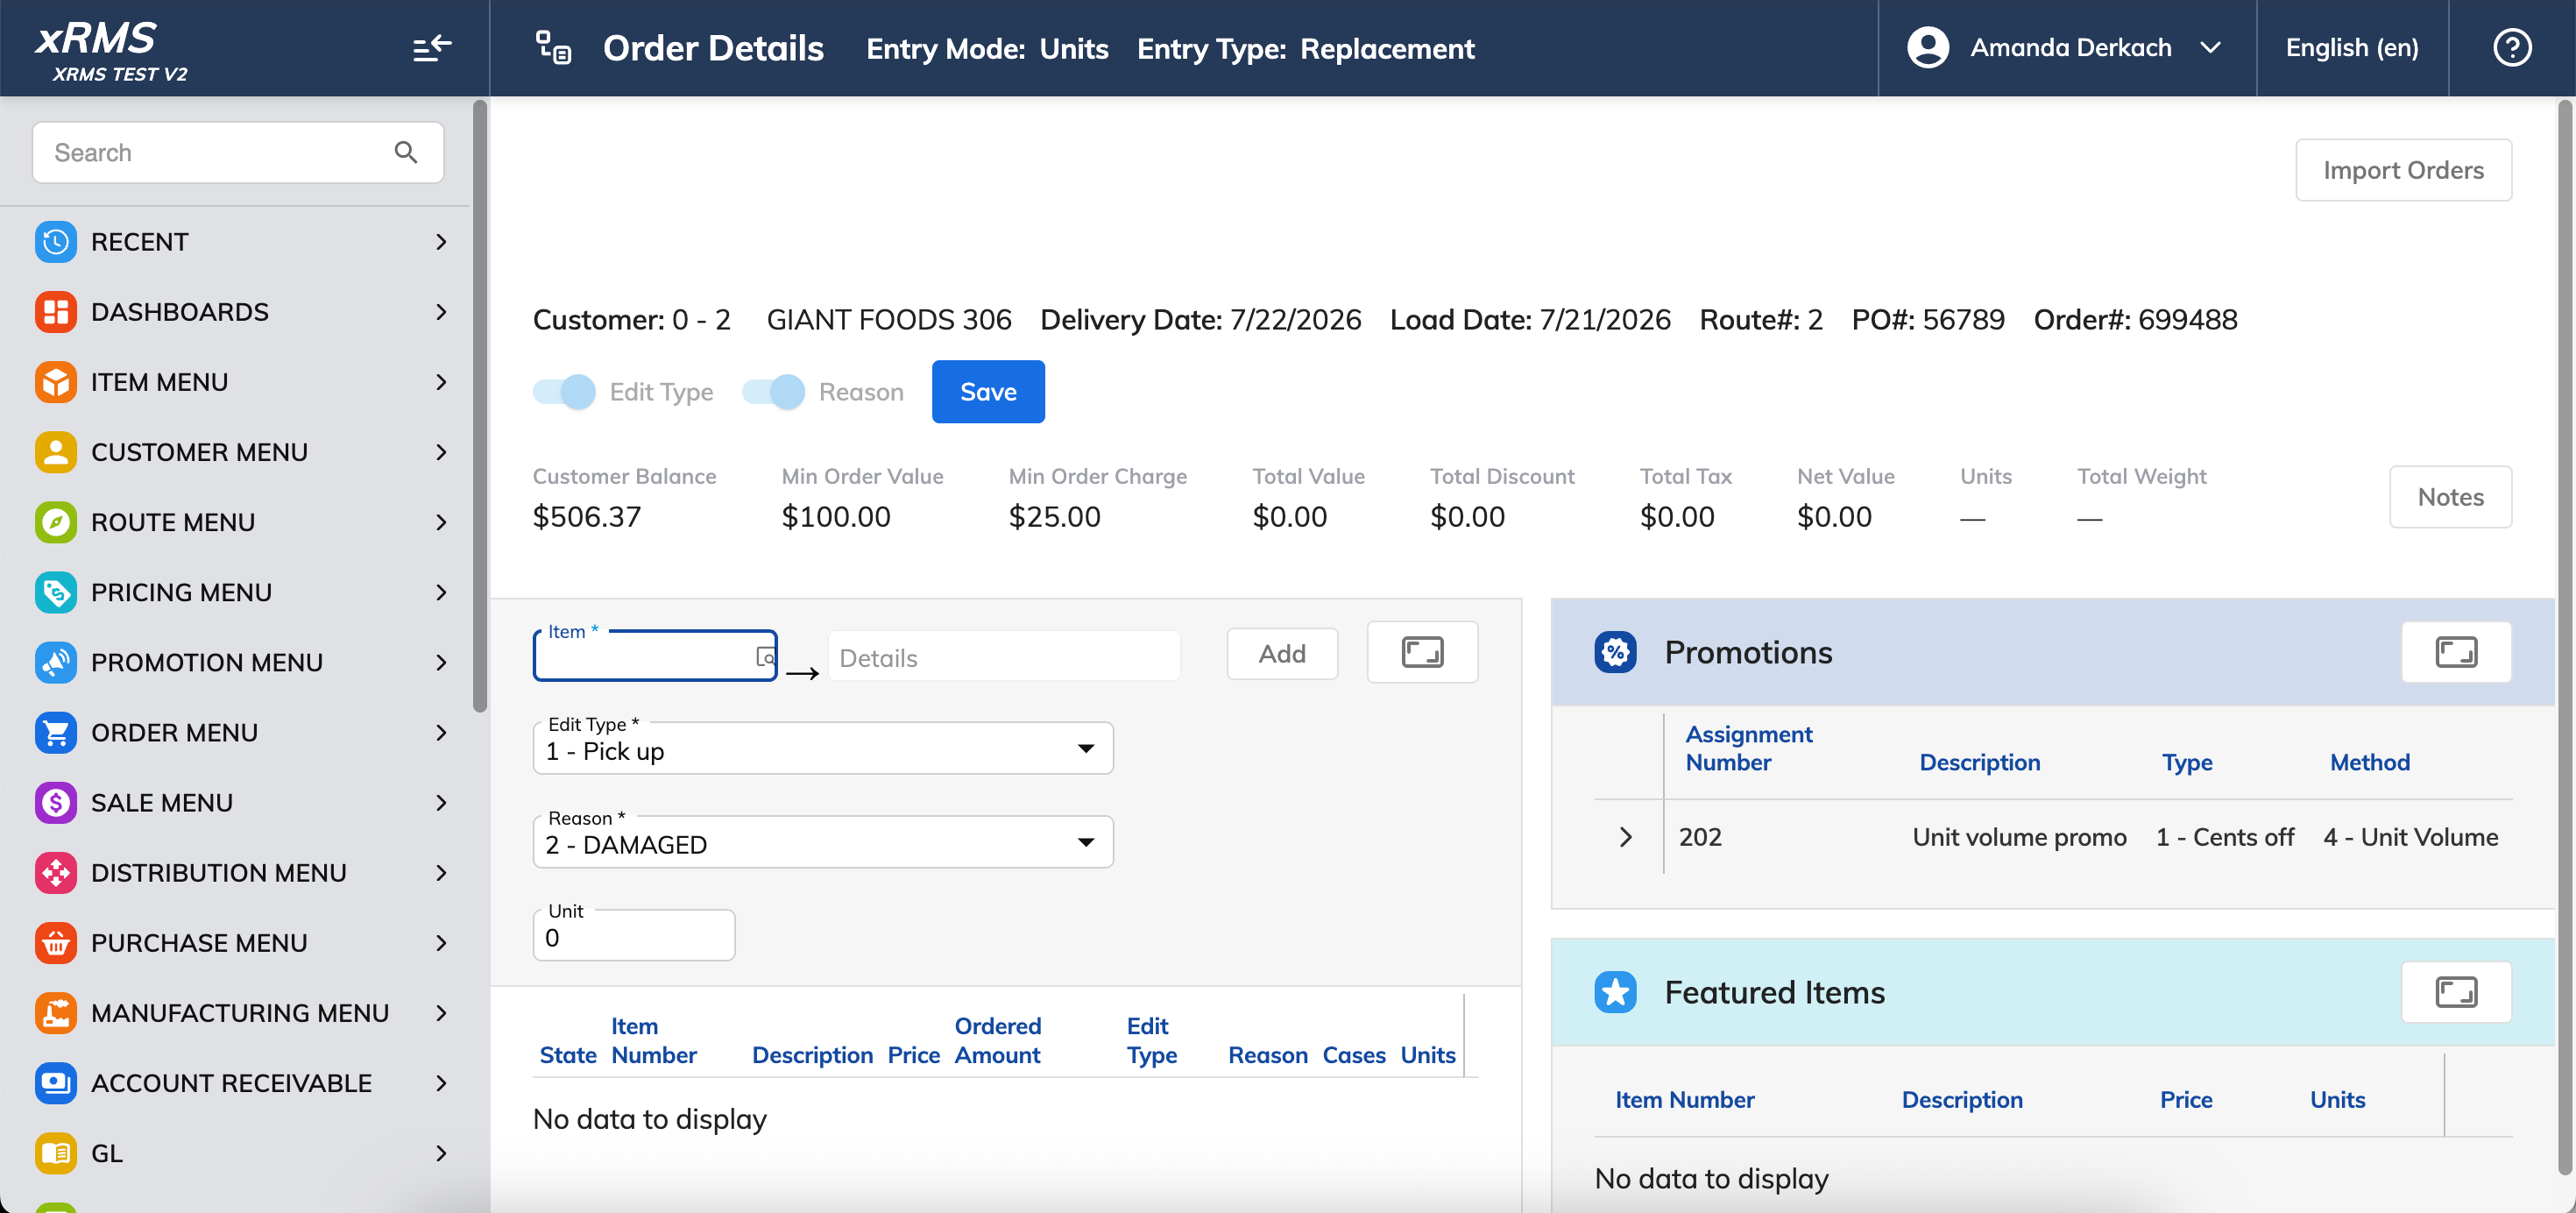
Figure 6: Order Details screen — Entry Mode is Units, and Edit Type / Reason default to 1 - Pick up / 2 - DAMAGED.
Click into the Item field to open the Select Item picker, and search by Item Number, Description, or UPC.
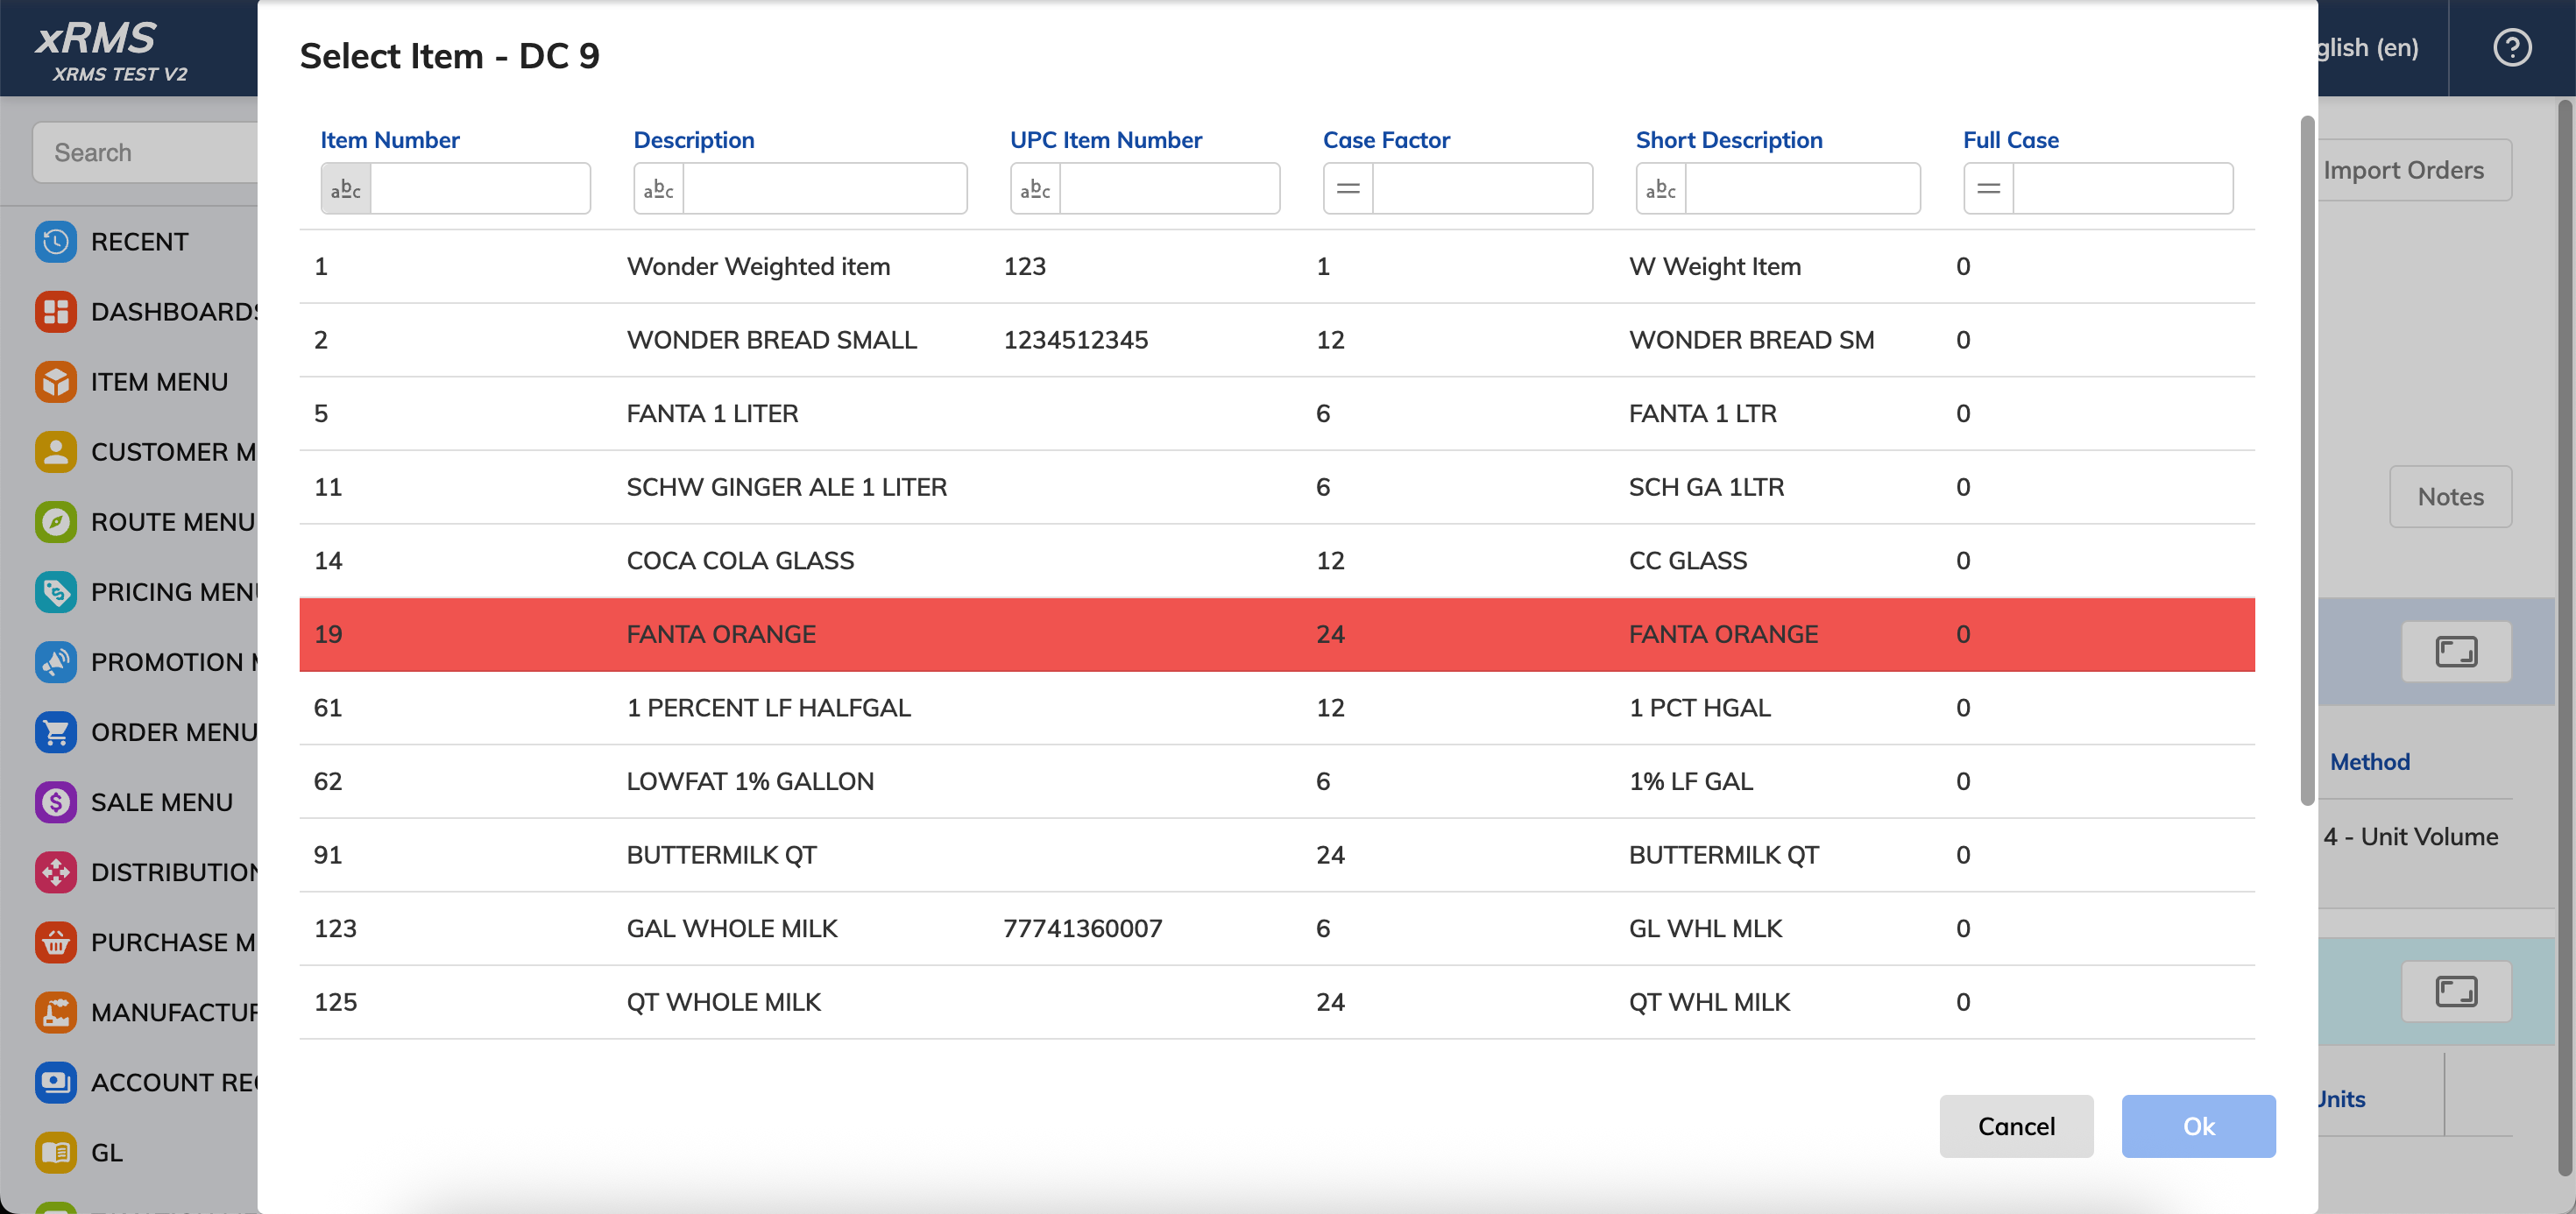
Figure 7: Select Item picker — search by Item Number, Description, or UPC.
Choose the item. Confirm the Edit Type and set the Reason to match why the product is being picked up.
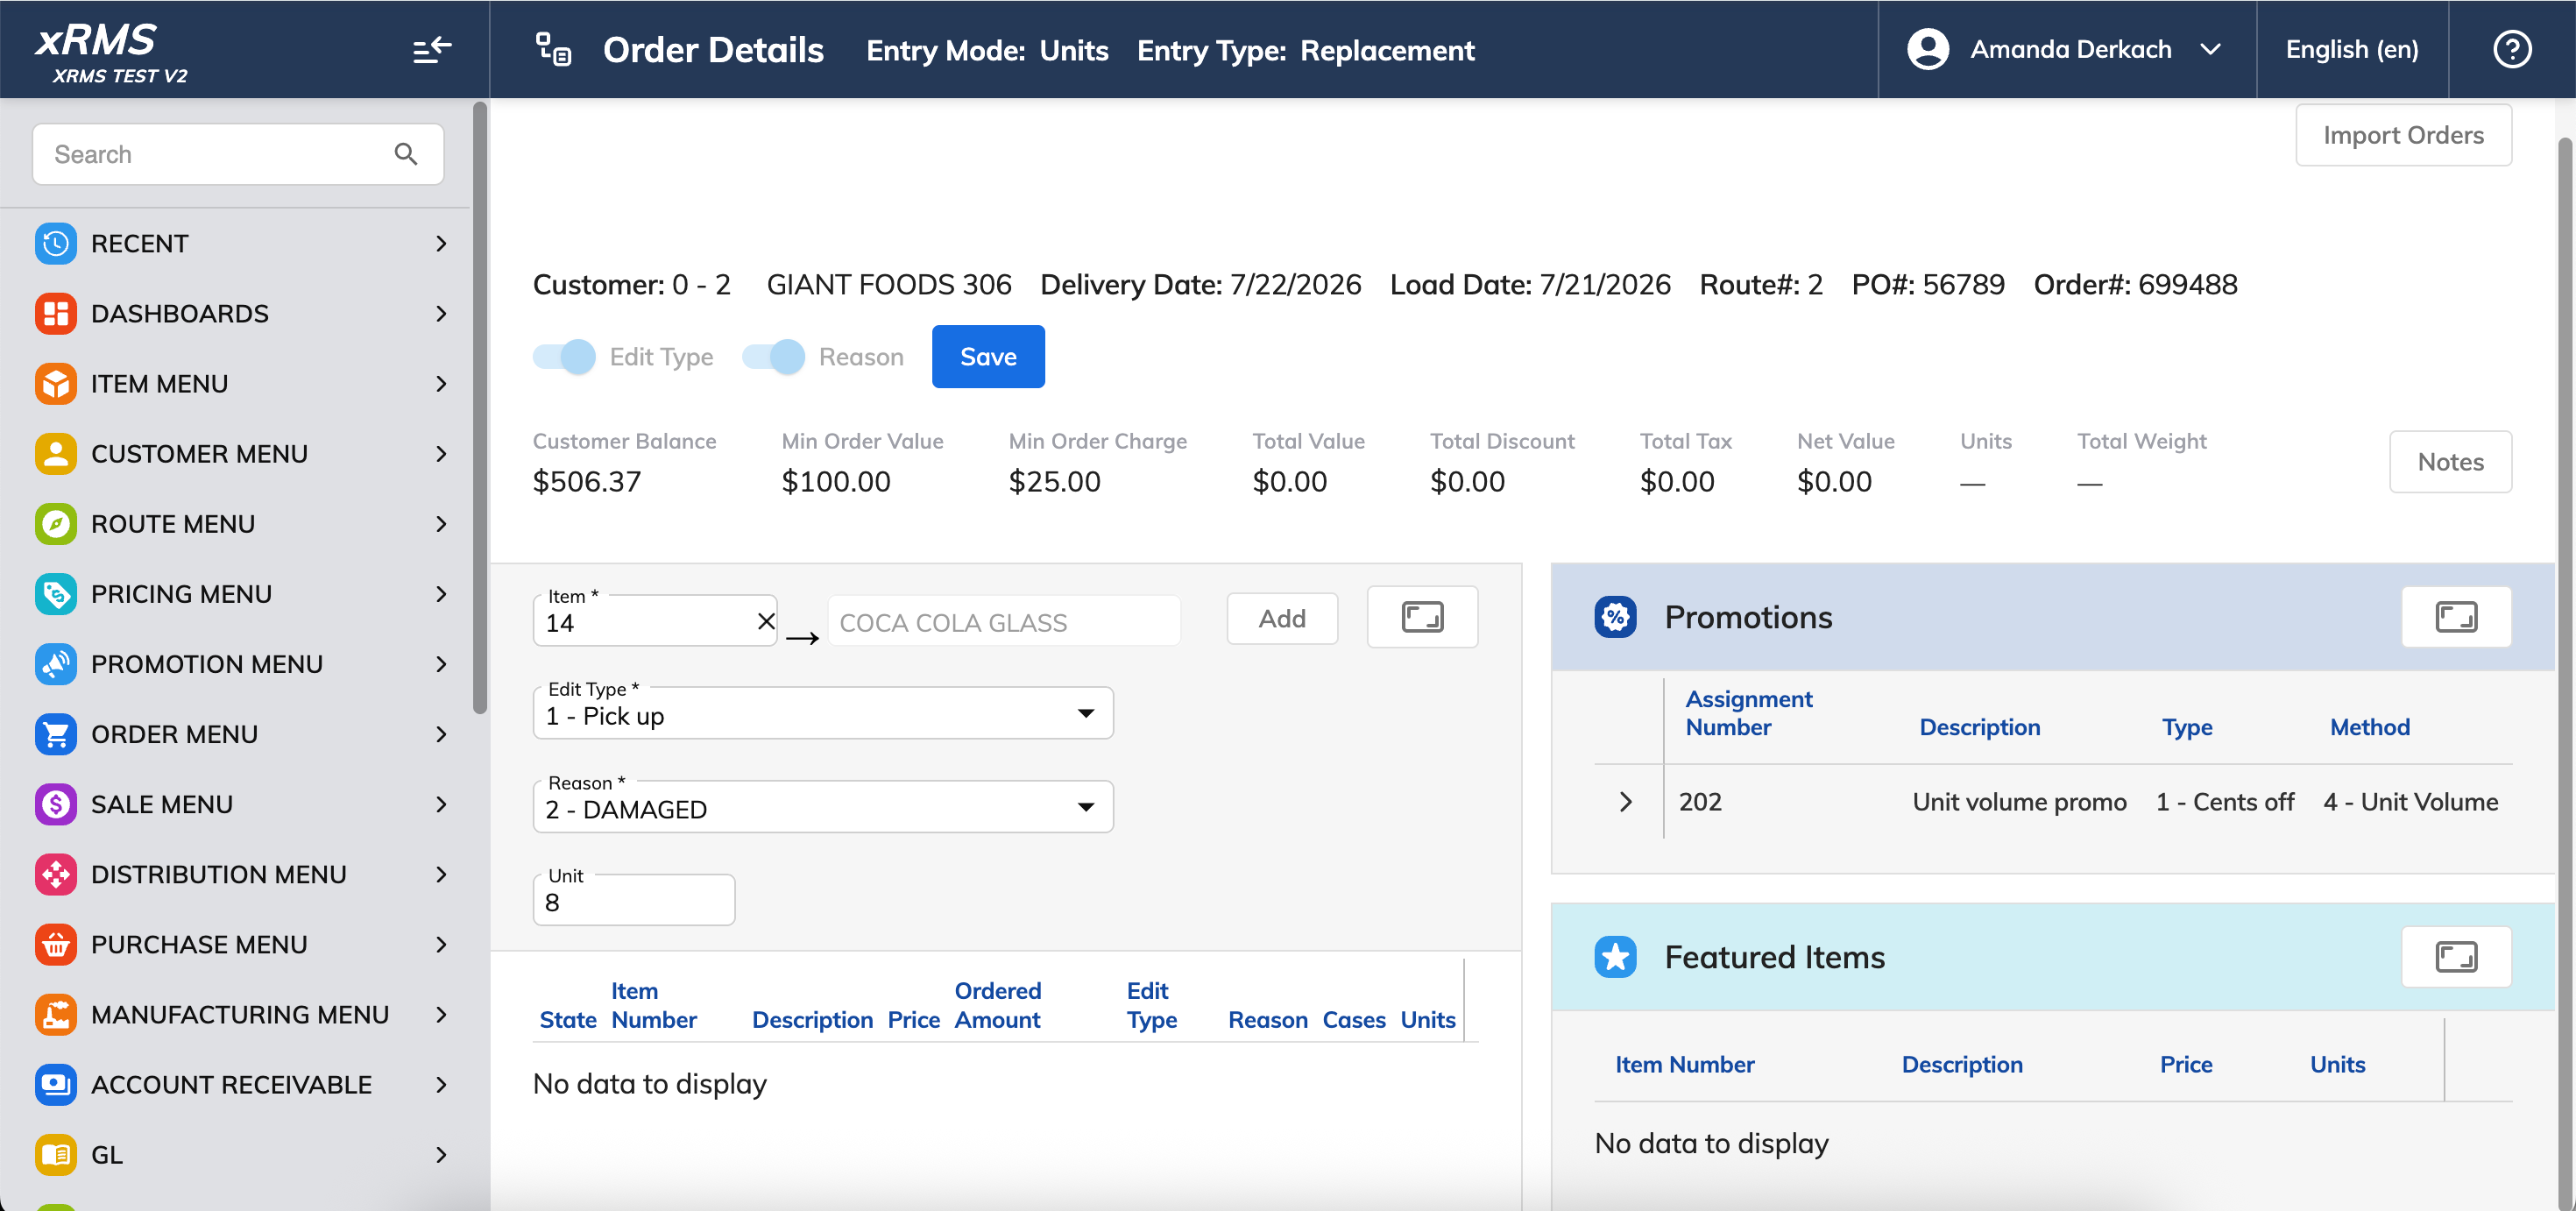
Figure 8: Item selected — Edit Type and Reason are set before entering the quantity.
Pickup Reason Codes
The Reason dropdown offers the following codes:
| Code | Reason |
|---|---|
| 2 | Damaged |
| 3 | Leaker |
| 4 | Out-Dated |
| 7 | Short Coded |
| 10 | No Codes |
| 11 | Def or Miss Cap |
| 12 | Def or Miss Label |
| 13 | Recall |
| 15 | Farm Store Remodel Pick Up |
| 18 | Correction Dump |
| 19 | Not Full |
| 21 | Competitor Product Pick Up |
| 23 | Poor Quality |
| 24 | Sampling |
| 26 | Platform Dump |
| 27 | Product Withdrawal |
| 28 | Courtesy Pickup |
| 90 | Rebate Credit 2018 |
| 91 | Trade Terms % ERMS |
| 100 | Milk to Drain |
| 200 | Drinks to Drain |
Enter the quantity in Unit, then click Add. Repeat for each item — each one keeps its own Edit Type and Reason.
The Item field is required before each Add, and the running Total Value, Units, and Weight update as items are added.

Figure 9: Each item on the order keeps its own independent Edit Type and Reason.
Step 5 — Save the Order
Check the running Total Value, Units, and Weight at the top of the screen.
Click Save. xRMS assigns the Order Number.
Step 6 — Confirm the Saved Order
Return to Order Entry for the same customer. The matching line in Scheduled Delivery now shows the new Order Number, highlighted.
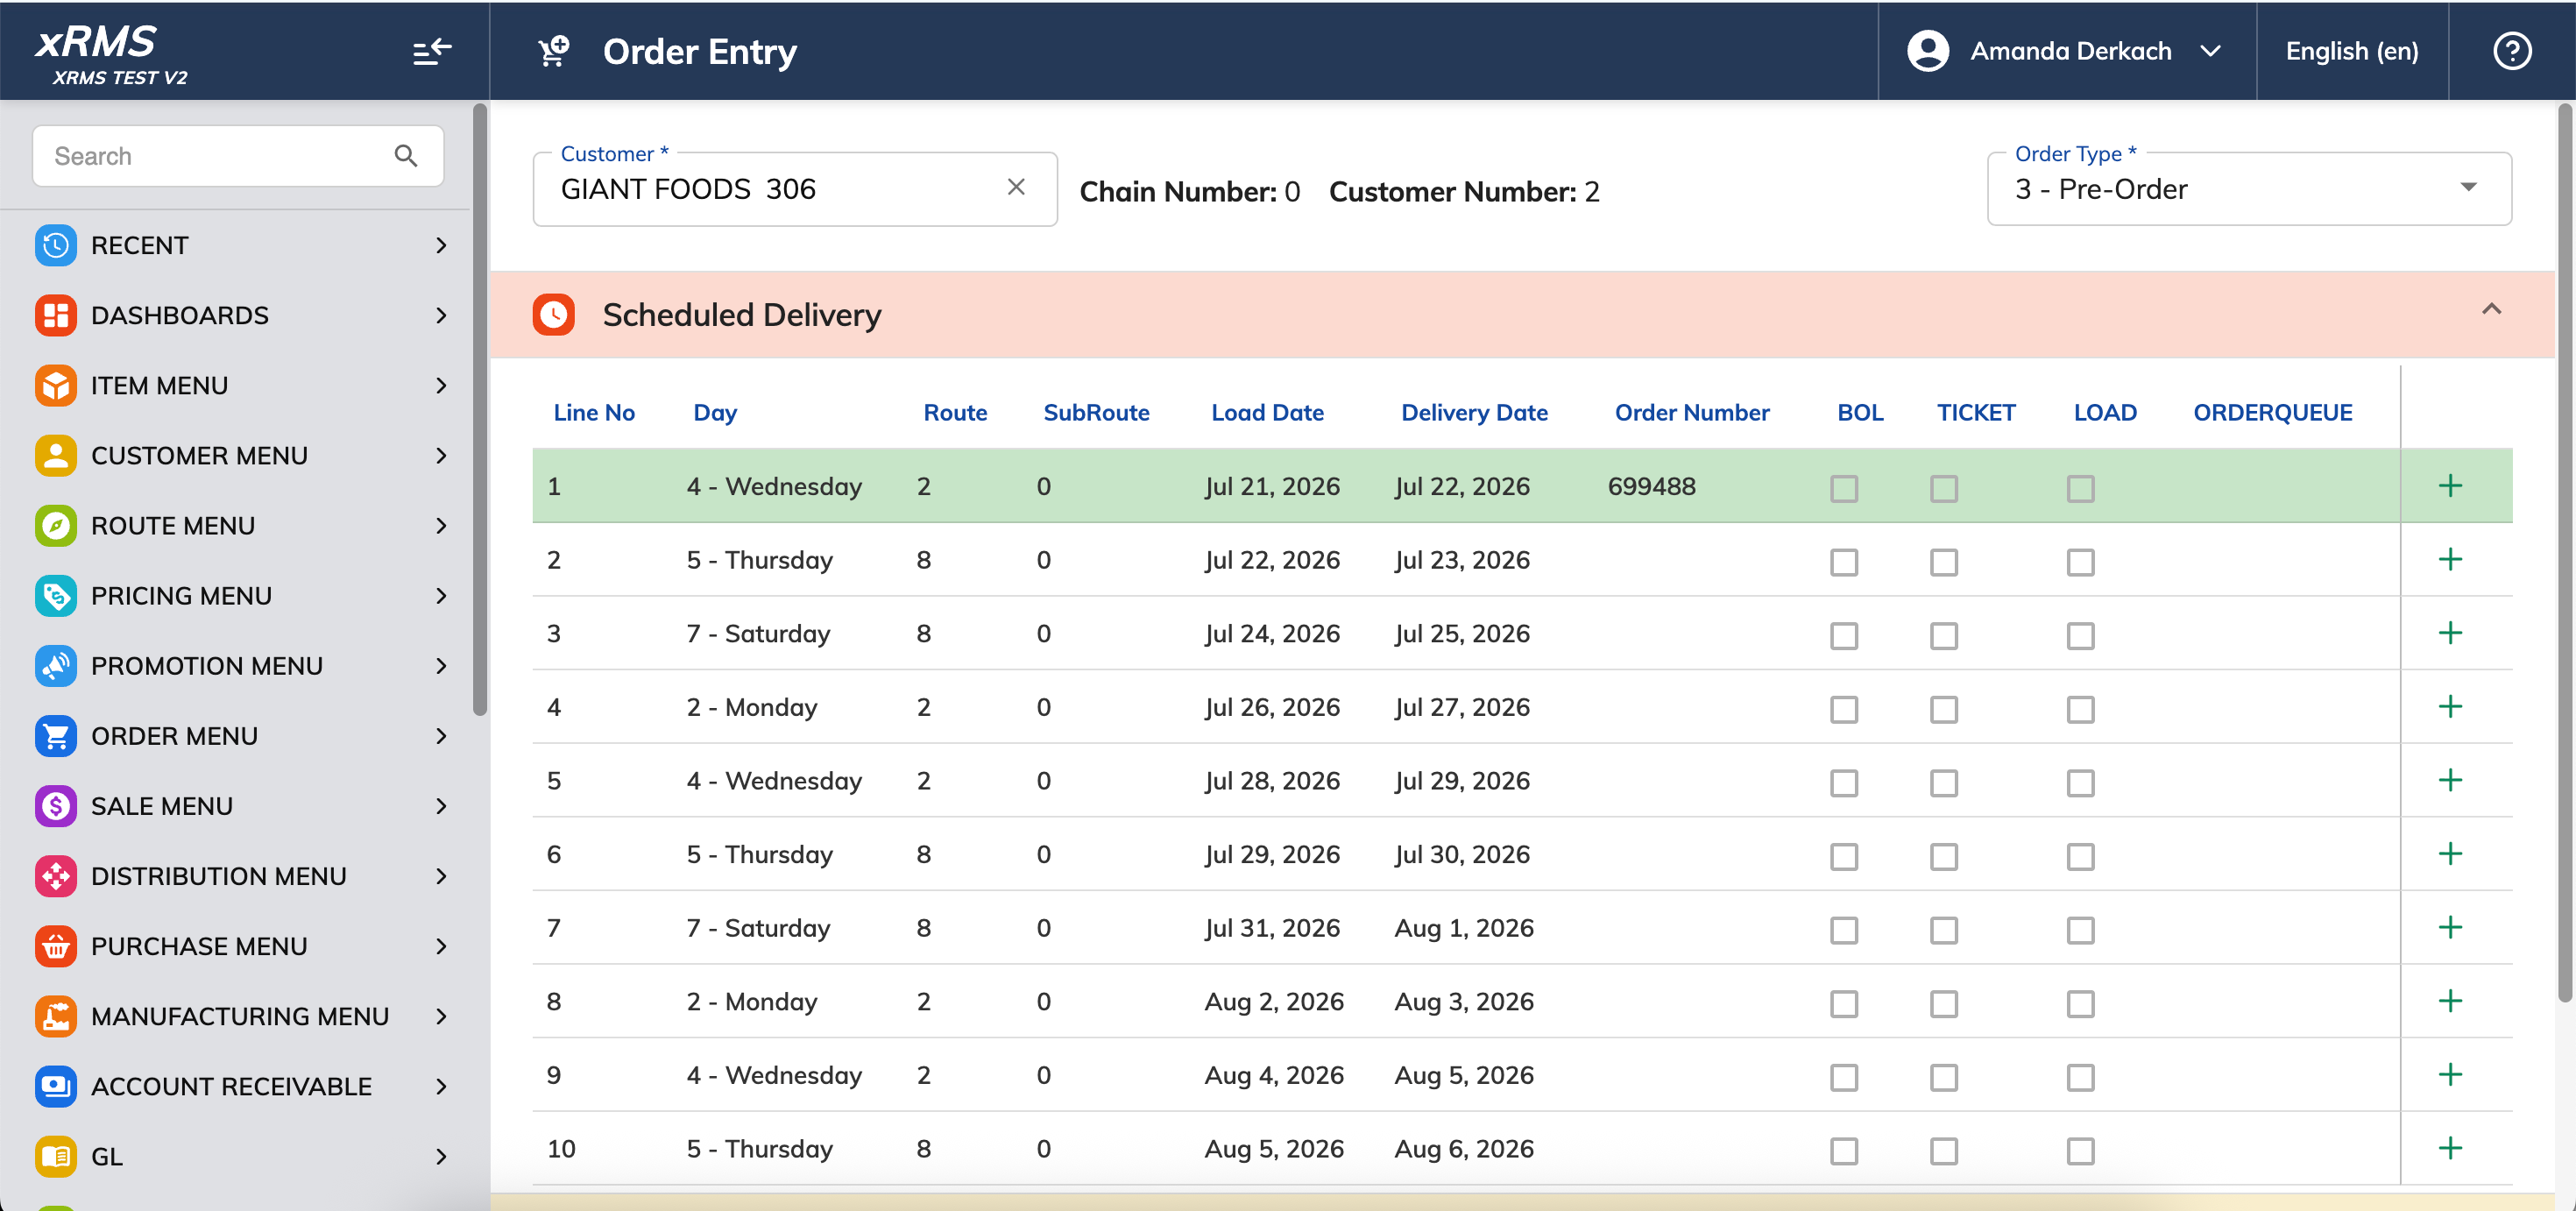
Figure 10: Scheduled Delivery — the matching line now shows the new Order Number.
Alternatively, expand Previous Orders and set the Type filter to "2 - Pick_Up."
The order list will not show the new order as expected unless this Type filter is set.
The saved order appears with Type "2 - Pick_Up," along with its P.O. Number, Load Date, Delivery Date, and Route.
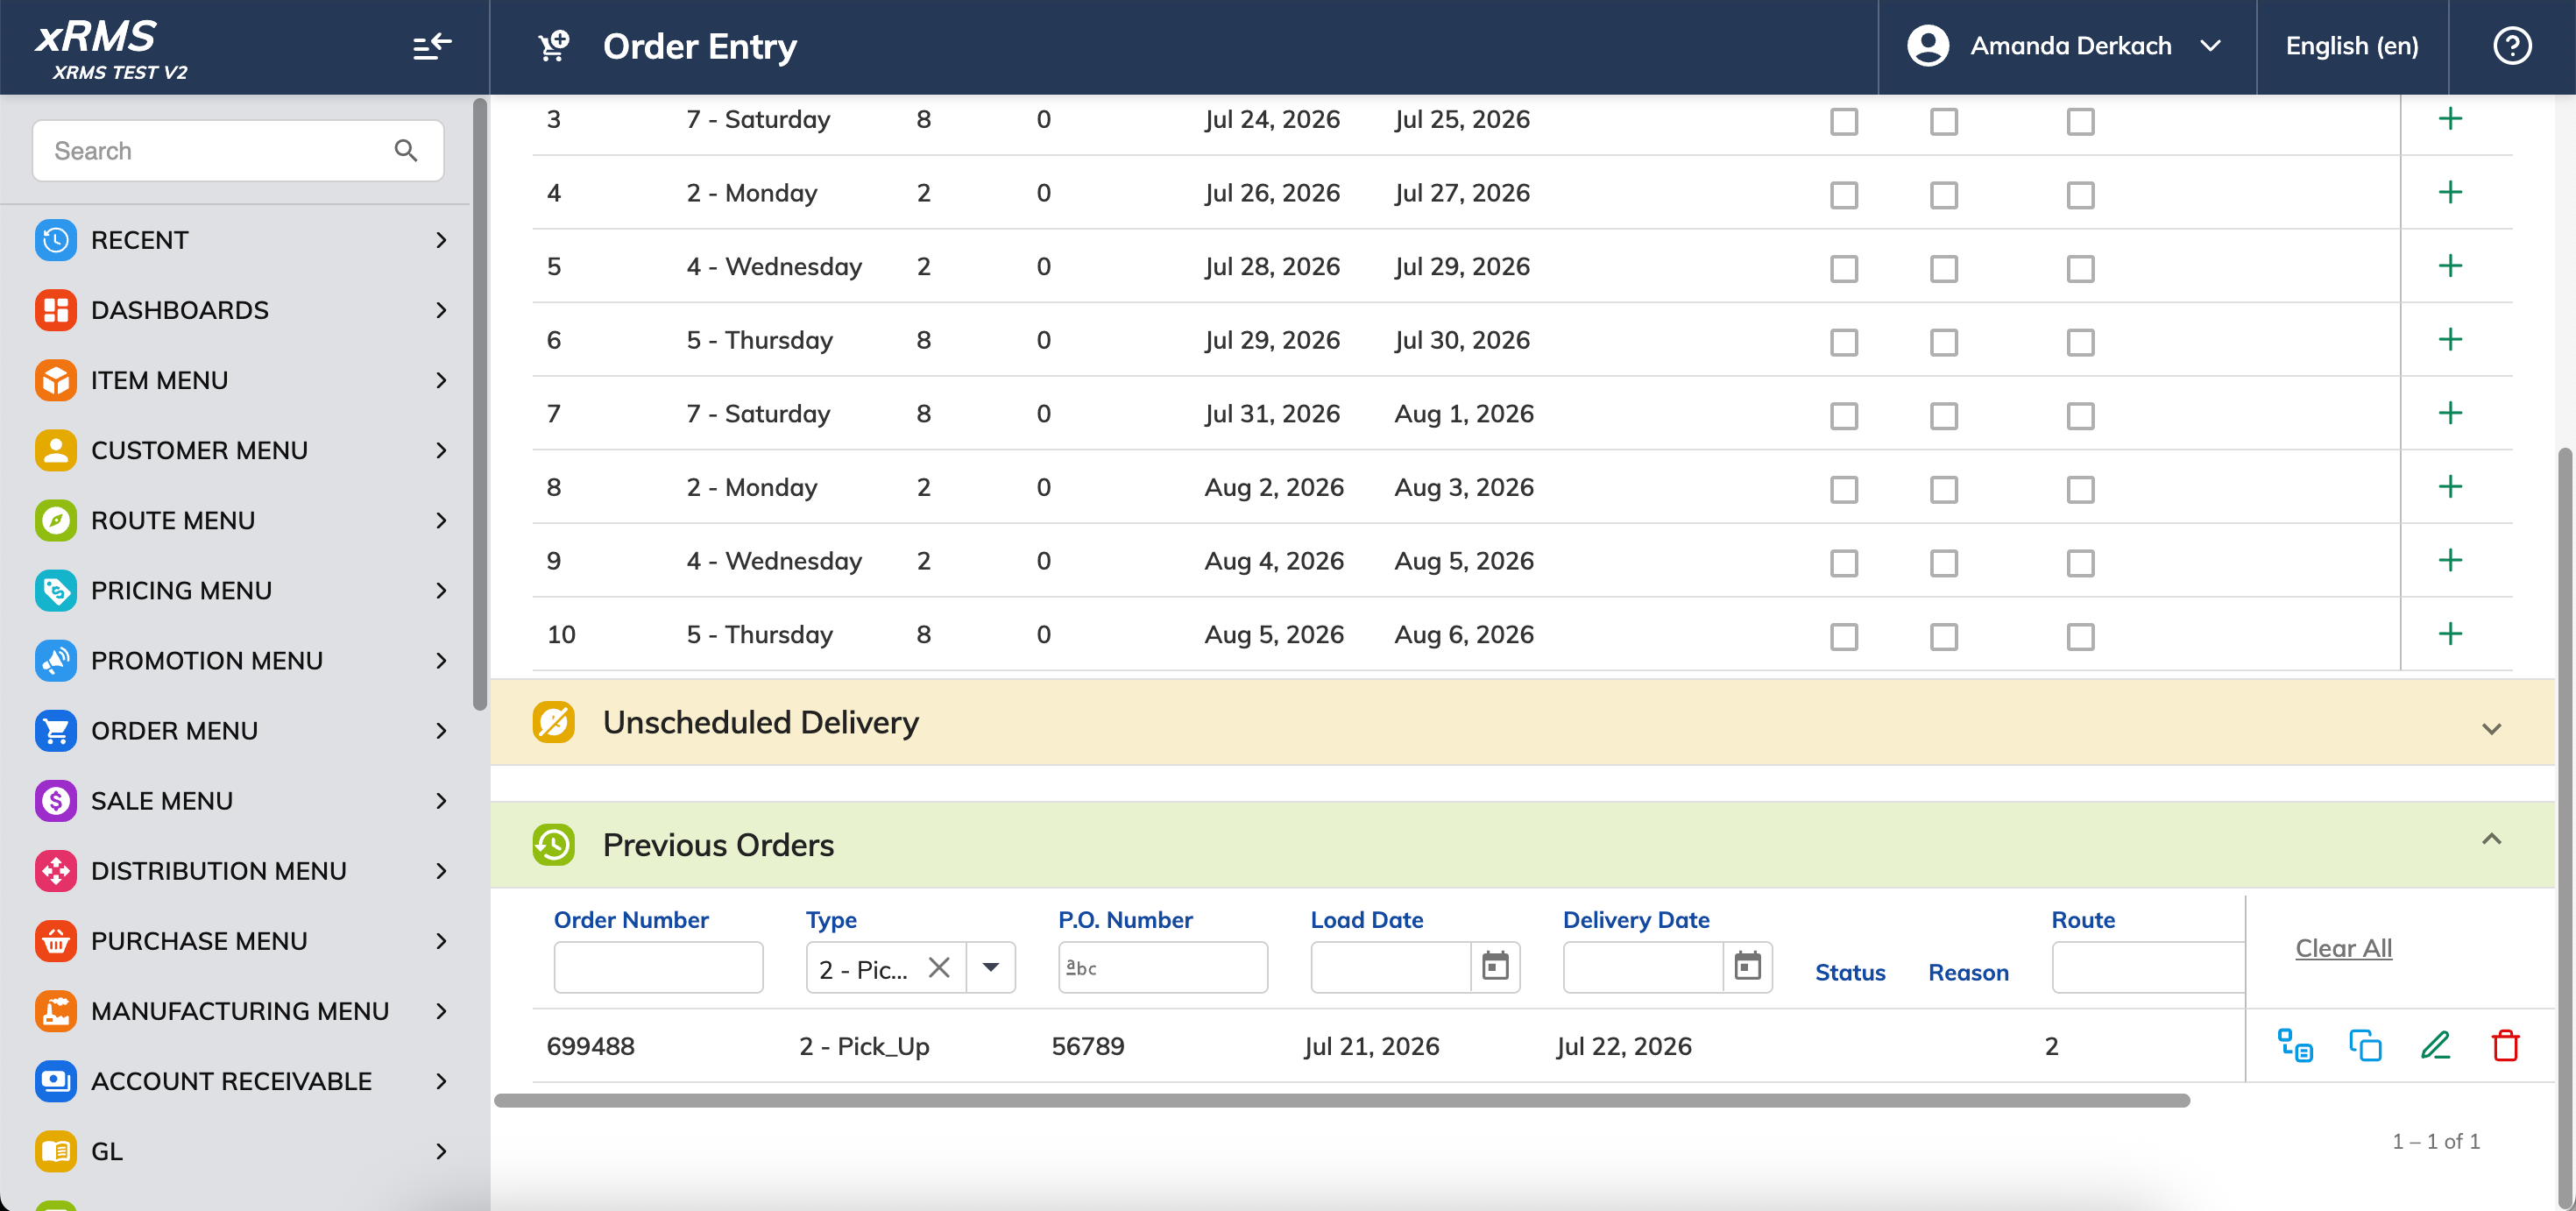
Figure 11: Previous Orders — filtering Type to "2 - Pick_Up" shows the saved order.
Source document: "How to Create a Pick_Up Order in xRMS," version 1.0 — Author: Amanda Derkach — Effective 07/21/2026.