
Setup xRMS CRV Tax
This guide describes how to set up a CRV tax in xRMS by creating a complimentary tax item, adopting it into the Distribution Center (DC) with a price, and then attaching it to each item that requires the tax. The example below creates an item that charges 5 cents for items that are 24 ounces or bigger.
Create Item
The item for the tax needs to be created. In this example, we will create an item that charges 5 cents for items that are 24 ounces or bigger.
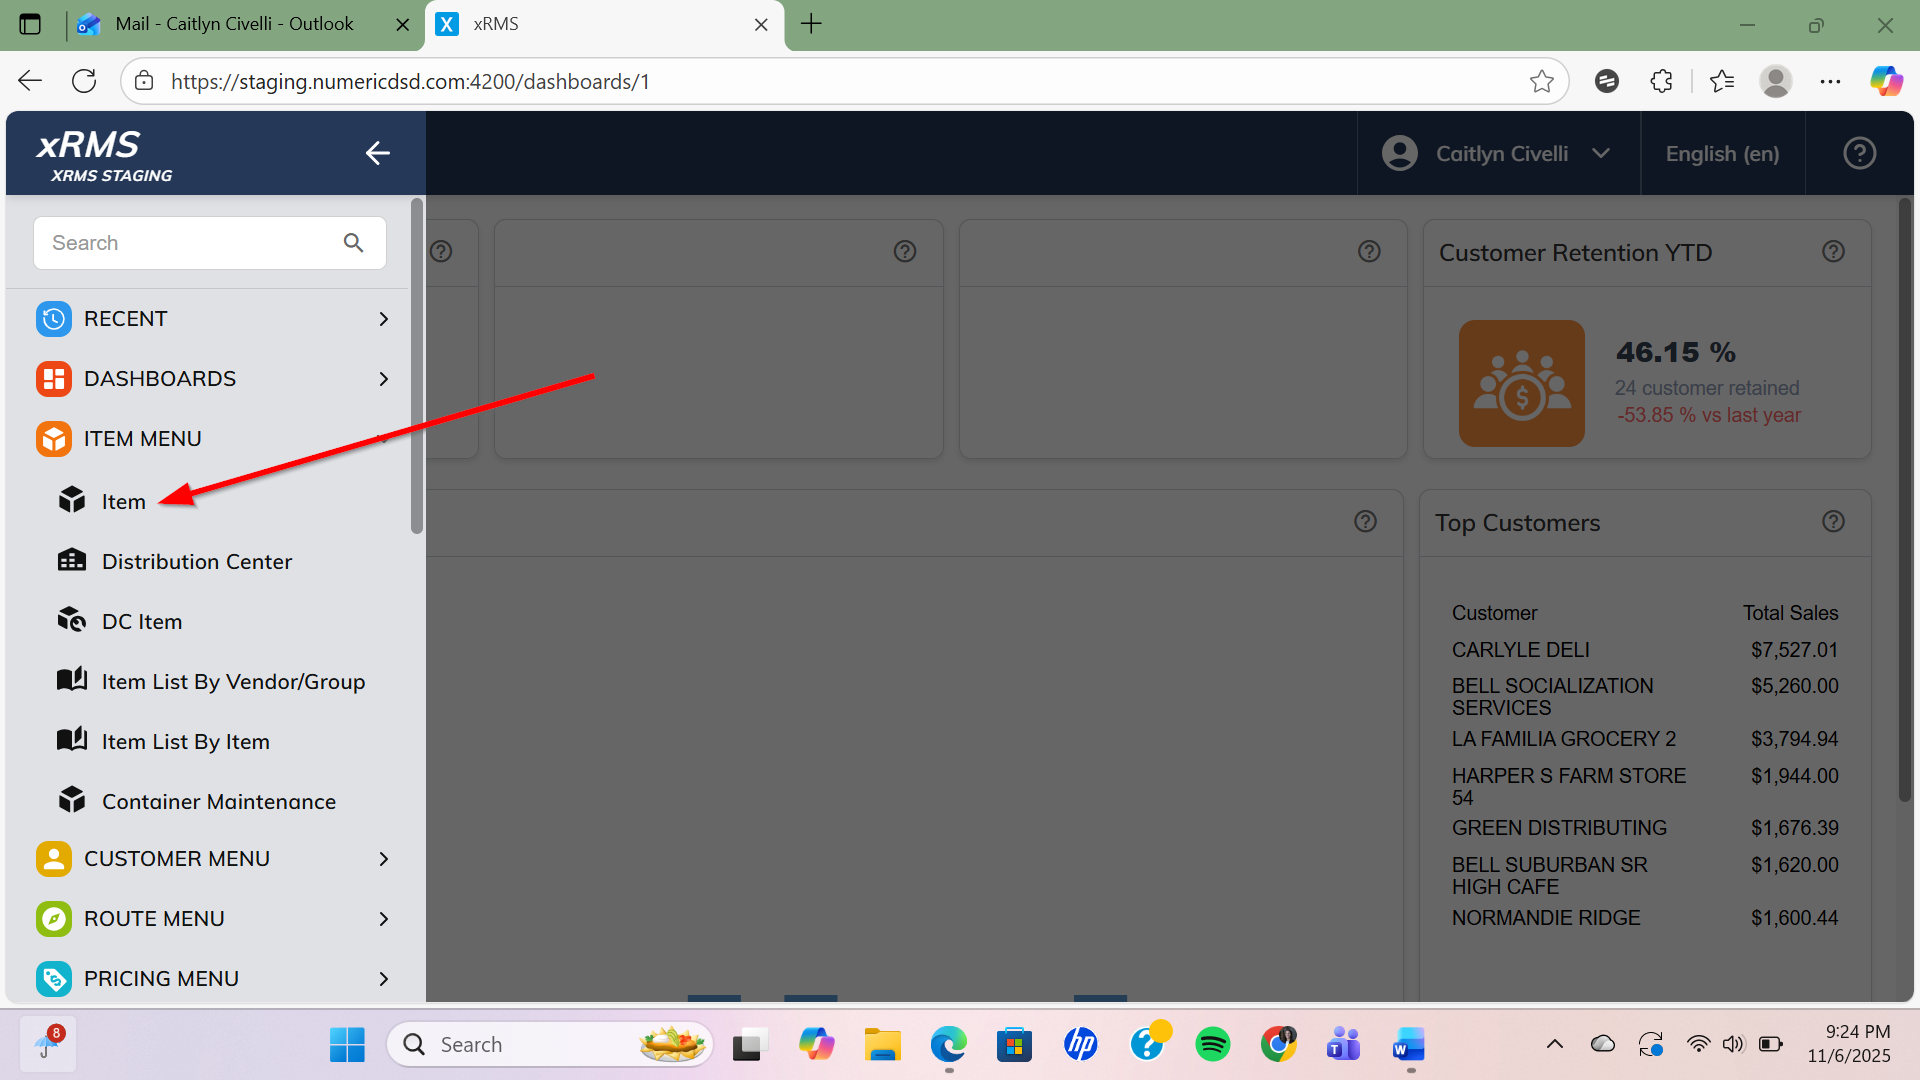
Select the Item link under the Item Menu menu option.
Select the
 Add button.
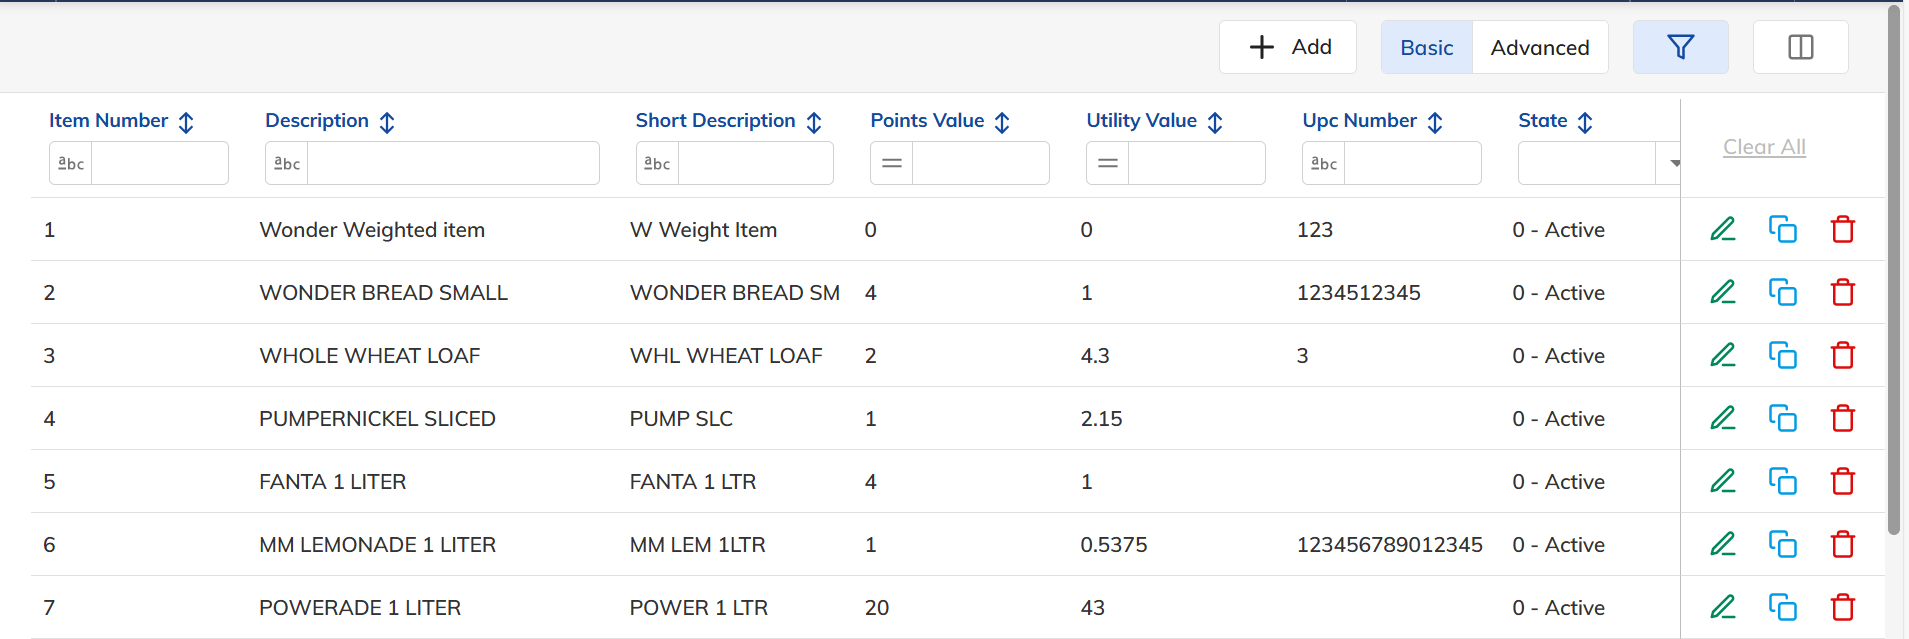
The following screen will appear:
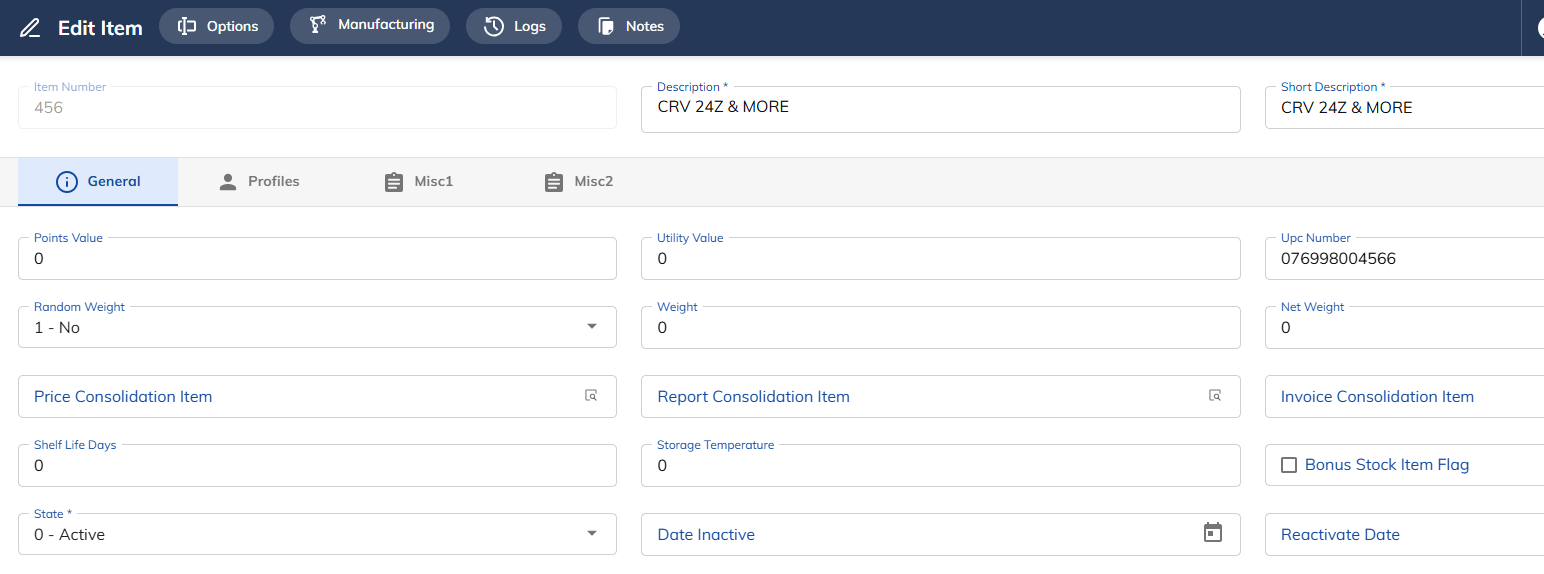
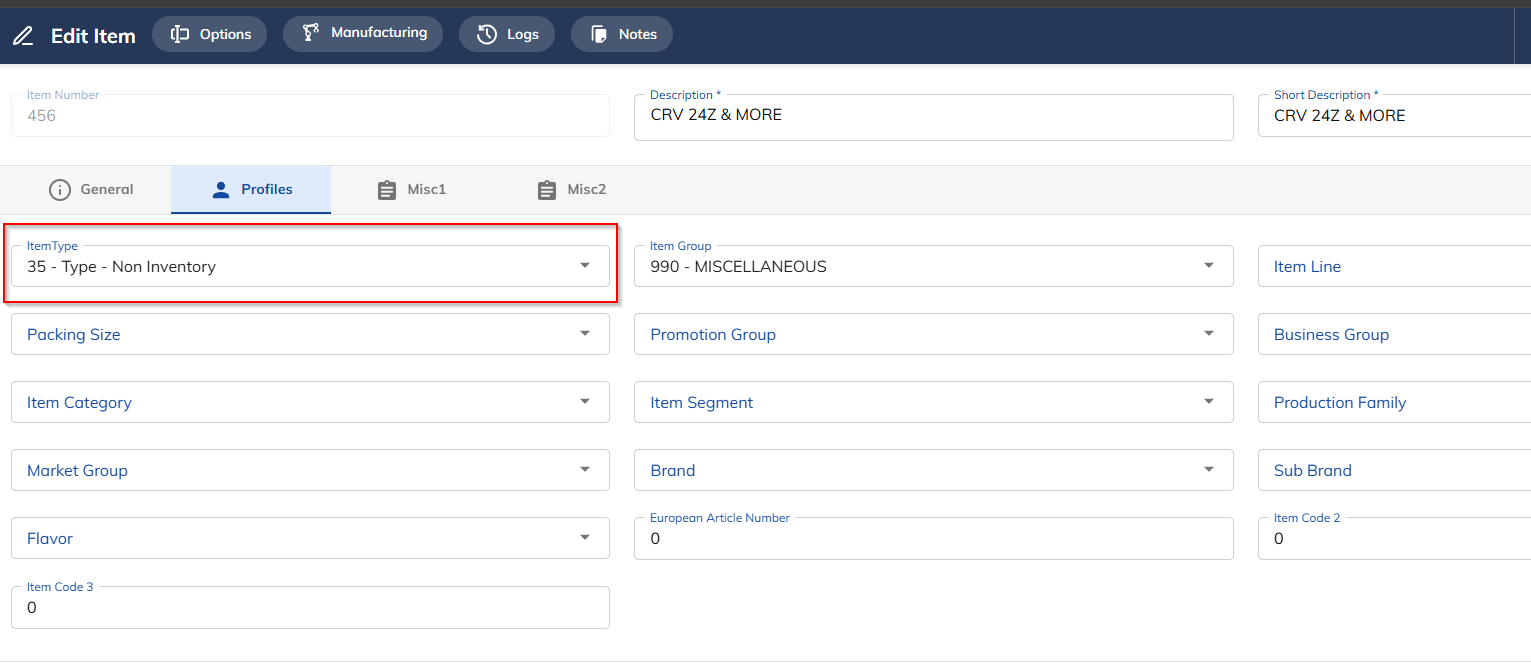
Fields
Field | Required / Optional | Recommended / Notes |
|---|---|---|
Item Number | Required | A unique item number that will refer to the tax. (General tab) |
Description | Required | A description of the tax (can be 30 characters). (General tab) |
Short Description | Required | A short description of the tax (can be 15 characters). (General tab) |
Item Type | Required | An item type that is non-inventory. (Profiles tab) |
Create DC Item
The tax item needs to be adopted into the DC and have a price set for it.
Select the DC Item link under the Item Menu menu option.
Select the
Add button.
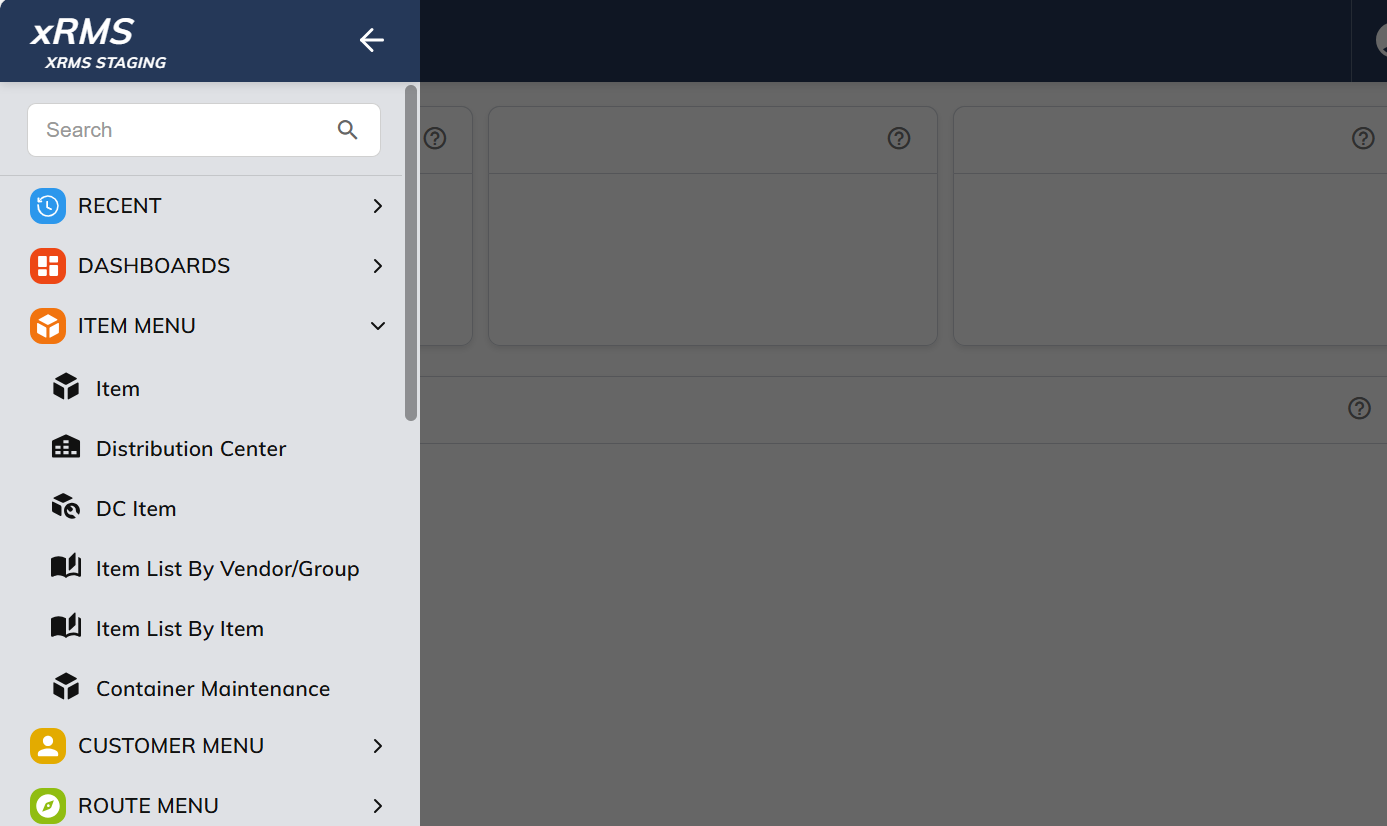
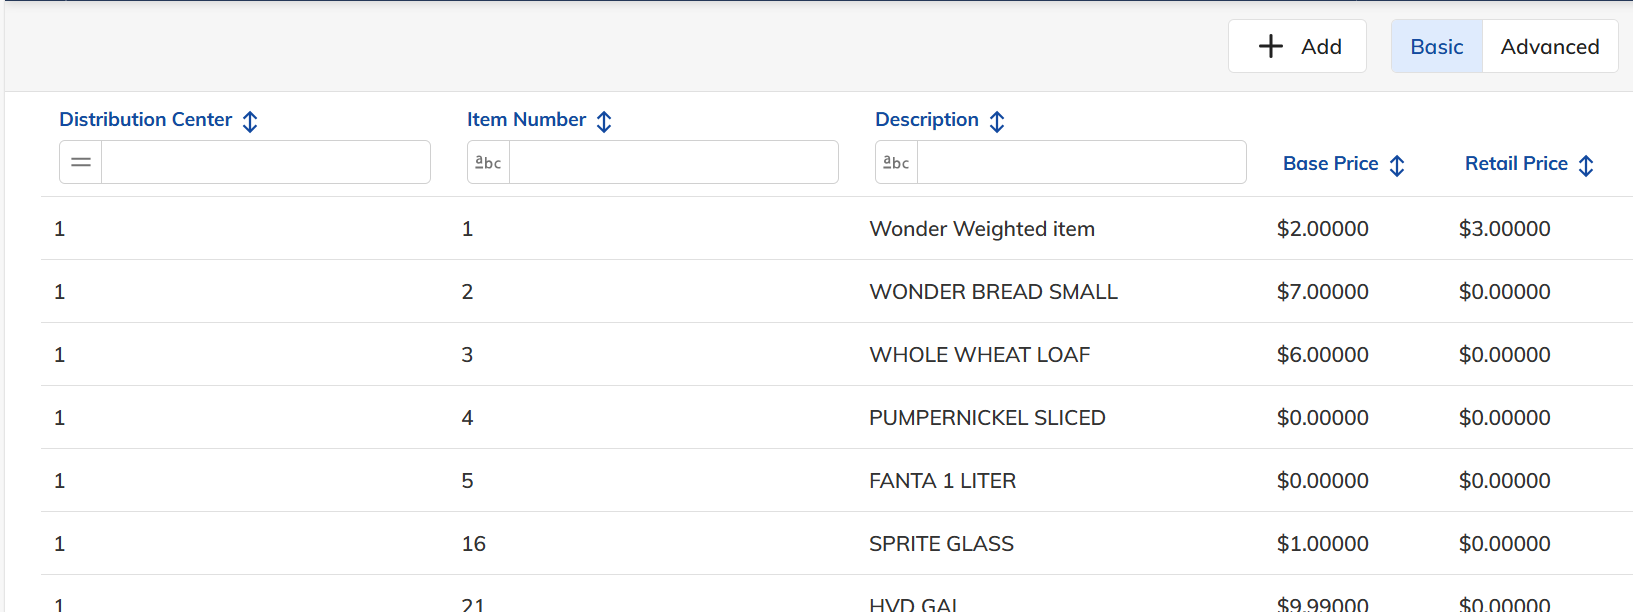
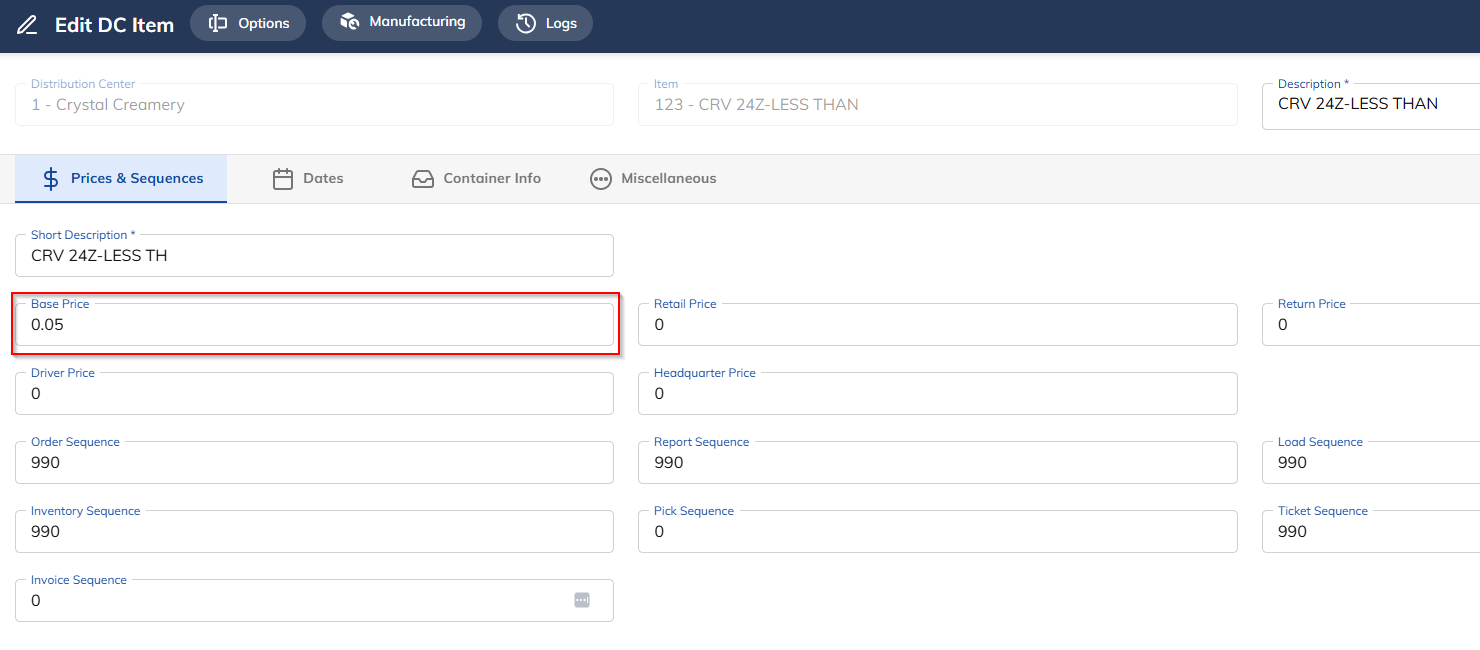
The following screen will appear:
Fields
Field | Value | Recommended / Notes |
|---|---|---|
Distribution Center | Required | Identifies the DC that will use this item. |
Base Price | Required | Identifies the unit price for the tax. |
Add Complimentary Item to Item(s)
The tax will need to be added to each item that requires this tax.
Select the DC Item link under the Item Menu menu option.
Select the item to add the tax to. In this case, we will use Orange Juice.
Select the Miscellaneous tab.
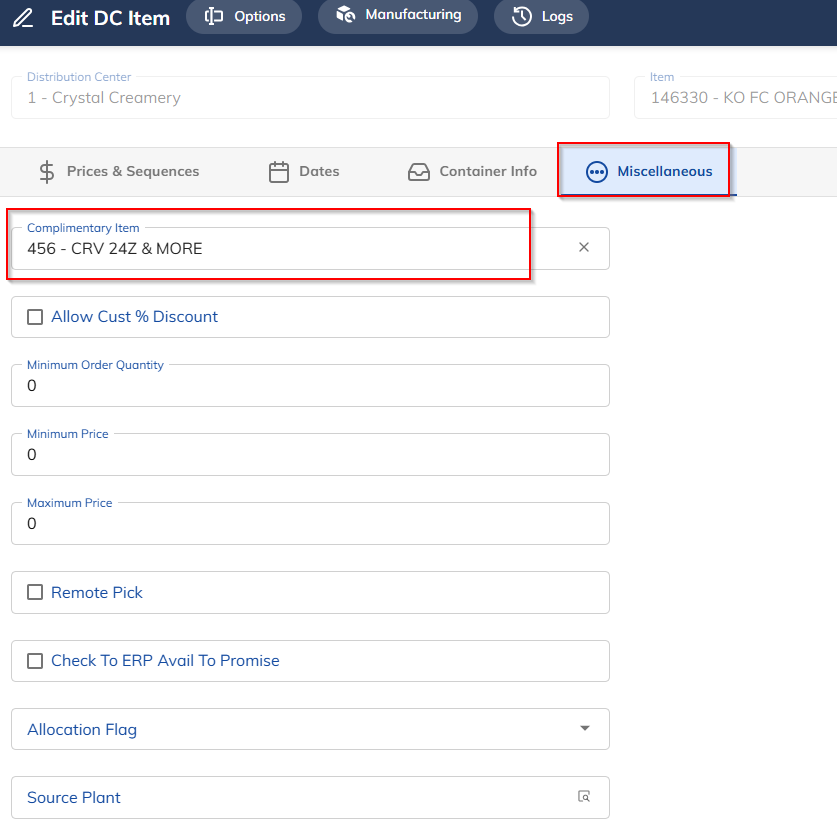
Fields
Field | Value | Recommended / Notes |
|---|---|---|
Complimentary Item | Required | Select the applicable Tax Item. |