
Salesman Maintenance
This article shows how to use Salesman Maintenance in xRMS. It covers viewing the Salesman file, adding a new salesman, editing an existing salesman, and deleting a salesman.
Salesman Maintenance
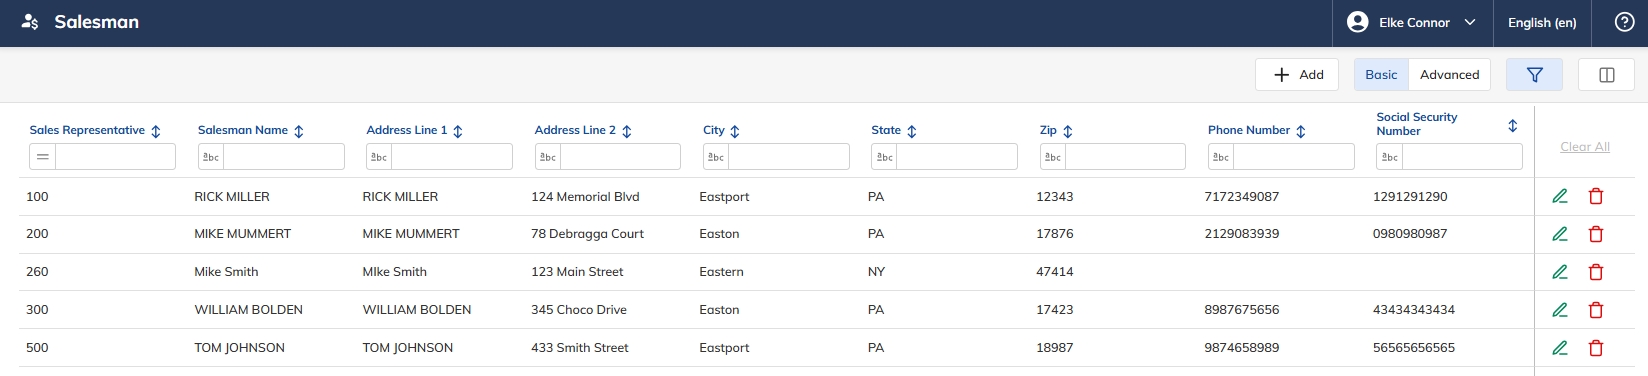
Adding a Salesman to the Salesman File
Select the + Add icon. The following screen displays.
Populate all other fields you would like; upon completion, press Save.
Any fields highlighted in red are mandatory fields and need to be populated.
Salesman File – General Screen

Field | Required/Optional | Recommended / Notes |
|---|---|---|
Sales Representative | Required | Identifies the Sales Representative Number. |
Salesman Name | Required | Identifies the Route Salesman Name. |
Address Line 1 | Required | Identifies the Address Line 1. |
Address Line 2 | Optional | Identifies the Address Line 2. |
City | Required | Identifies the City. |
State | Required | Identifies the State. |
Zip Code | Required | Identifies the Zip Code. |
Phone Number | Optional | Identifies the Phone Number. |
Social Security Number | Optional | Identifies the Social Security Number. |
Editing a Salesman

Select the Pencil icon for the Salesman you wish to edit.
Make the necessary changes.
Select the Save icon. A message confirming the changes to the file is displayed.
Deleting a Salesman

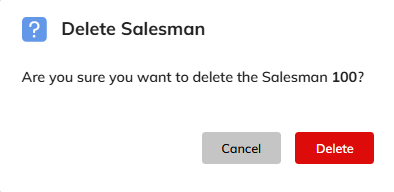
Select the Salesman you wish to delete.
Select the Delete icon.
The question will appear "Delete Salesman"; select Cancel or Delete.